|
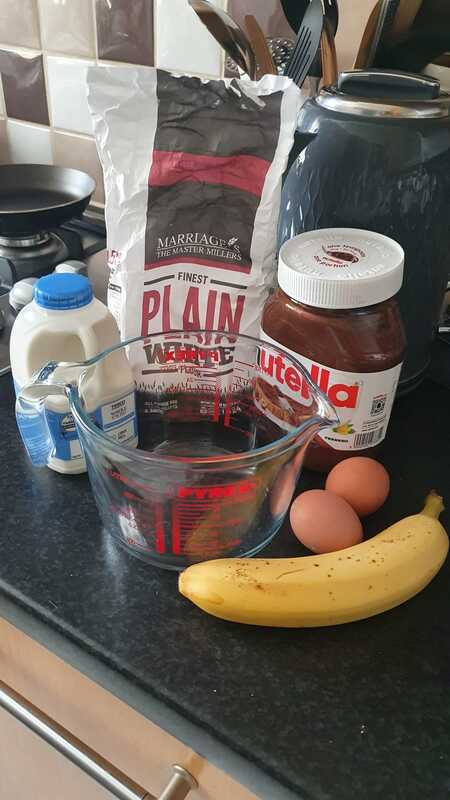
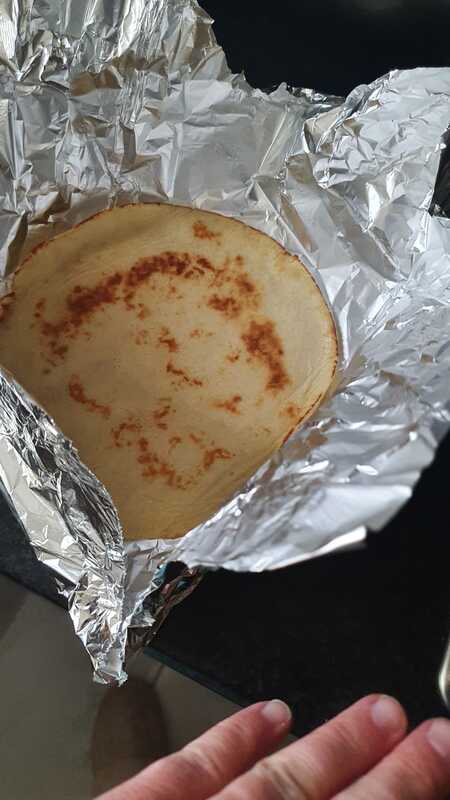
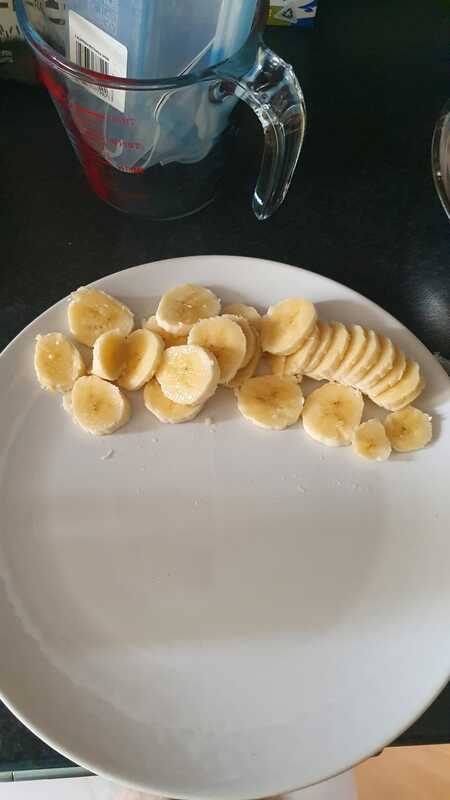
28/3/2023 0 Comments Homemade Sweet Pancakes!Despite what people may think pancakes are a great source of protein and are a great pre/post workout meal as-well as being great for a breakfast!!! You will need: 100-200ml milk 15-20g nutella 1 banana chopped up or you can use your fave berries 50g Plain flour x2 eggs 1 jug and 1 ladle A little bit of foil to wrap up your pancakes to keep them warm! If you aren't keen on banana you can use other fruit such as berries! You can easily make these savoury by using turkey bacon for a pork free option or normal bacon and add those drizzles of honey if you want too! Now I am no pancake wizard and these definitely didn't come out the best but I have to say one thing; they tasted so good!
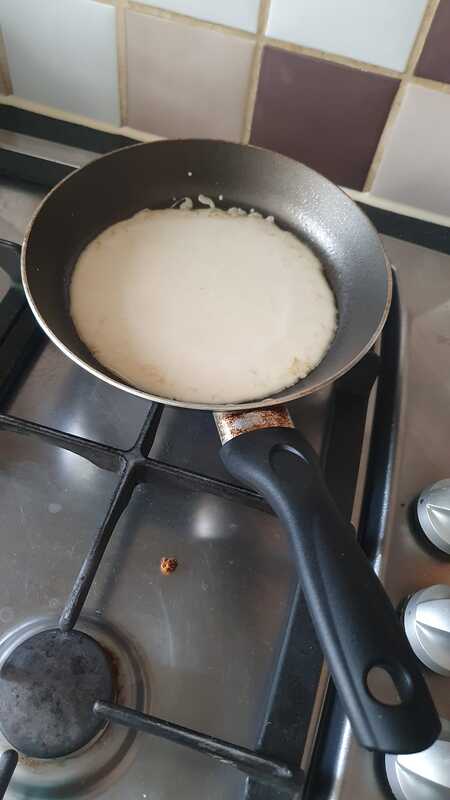
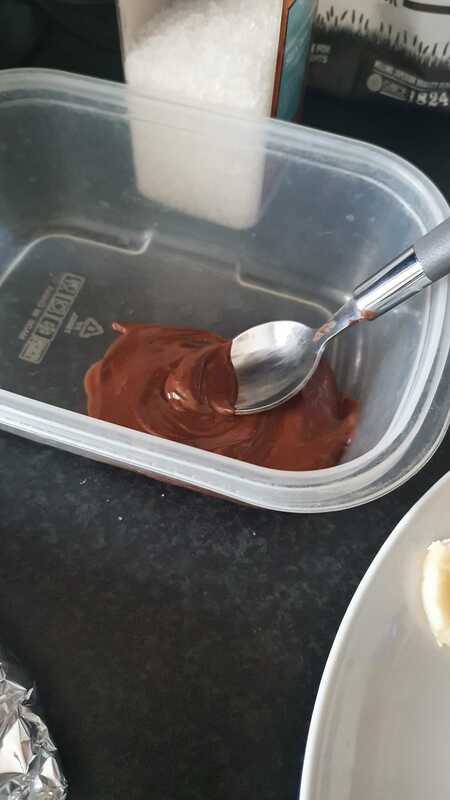
Method: Step 1- Weigh out your flour and add this to the jug, from here add your milk to the jug and slowly crack each egg and stir into the mixture! Whisk this all up and stir well to prevent any lumpiness! Step 2-Heat up your frying pan and spray your cooking spray. You can use oil but I used and recommend fry light spray to make the calories lower and keep it more healthy! Step 3- Grab your ladle and from here add 1 spoon to the pan and leave for 30 secs and each side! When your pancake is done and ready wrap the pancake in foil to keep it warm. Step 4- Continue to do this until you run out of mixture and have all your pancakes done! Then from here chop up and slice your banana and pop this onto your plate. Step 5- Once you've chopped up and sliced up the banana pop 15g of a spoonful of nutella in the microwave for 30-60 seconds. From here add the nutella and chopped banana to your pancakes or just eat them on the side! Step 6- Tuck in and enjoy!
0 Comments
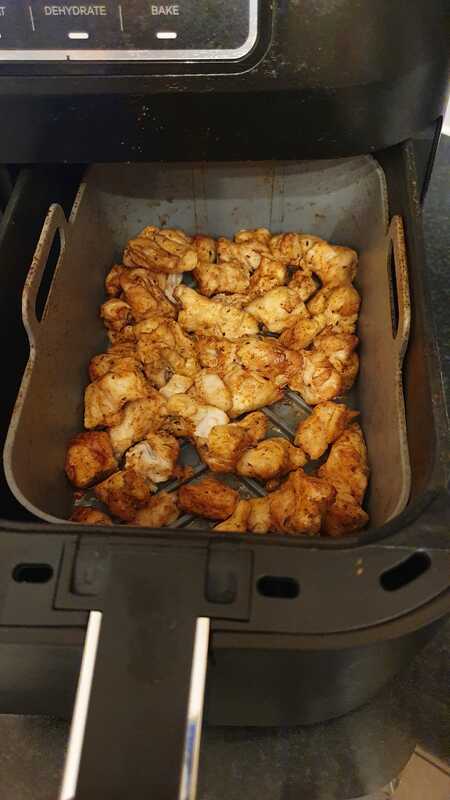
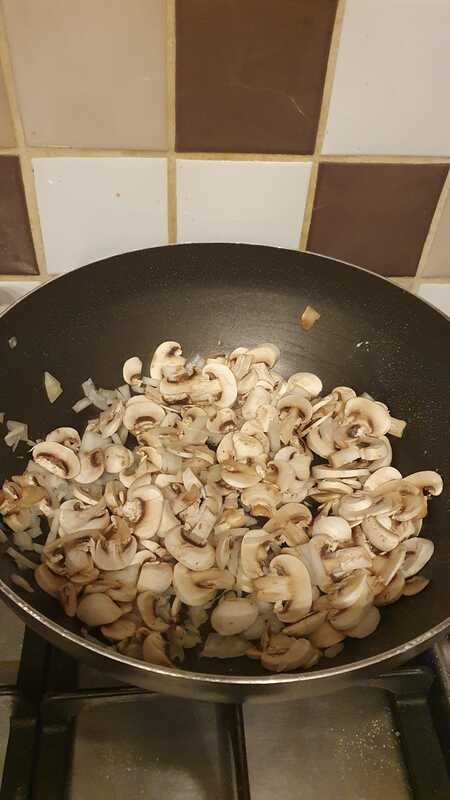
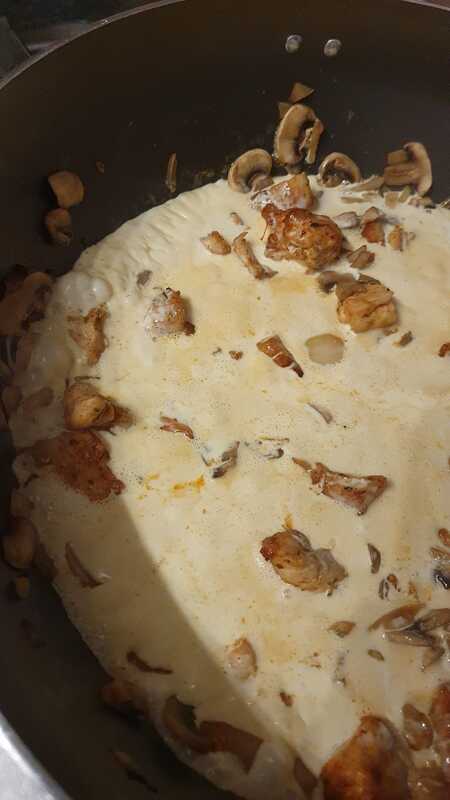
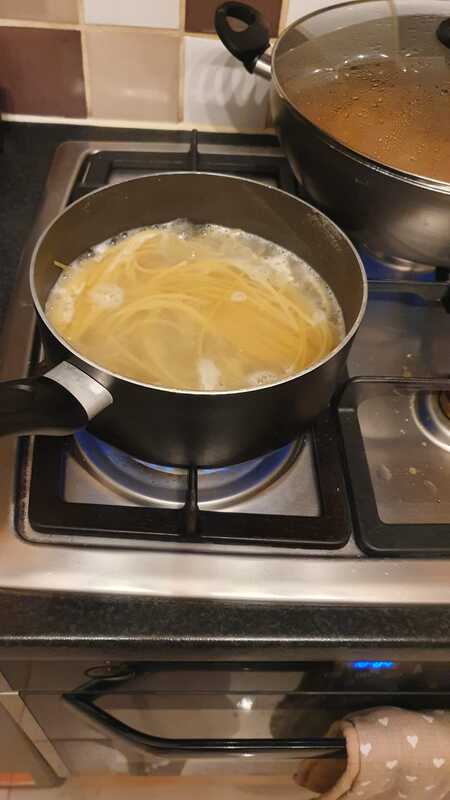
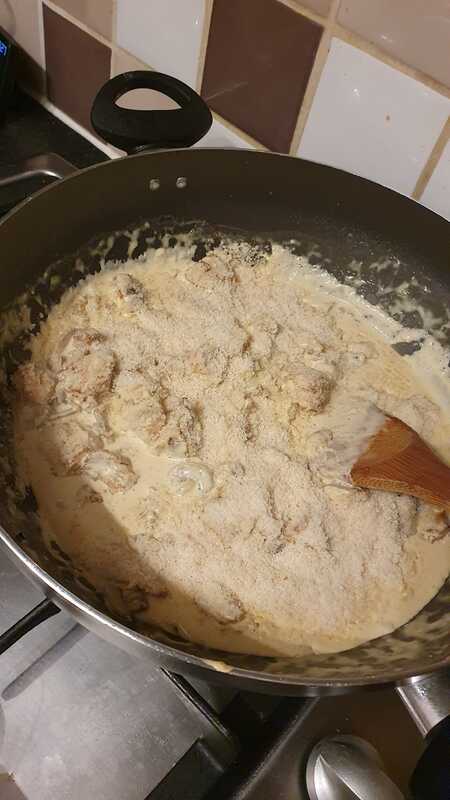
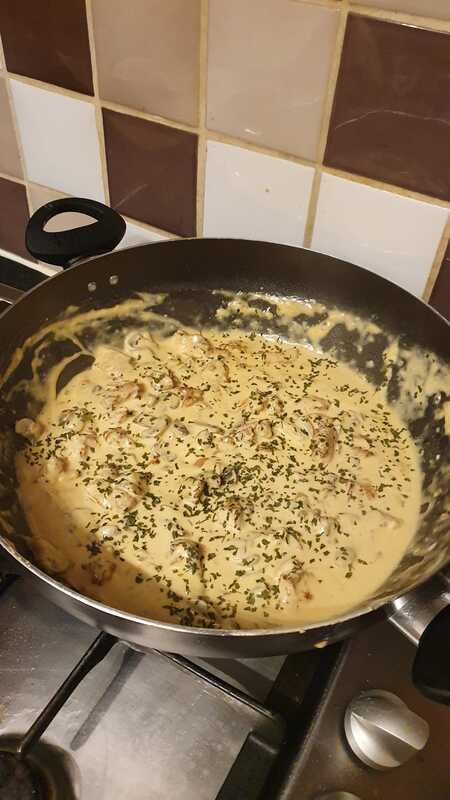
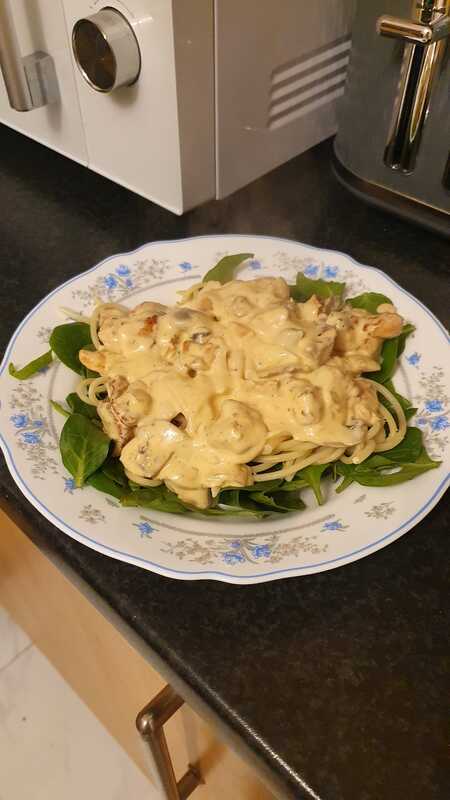
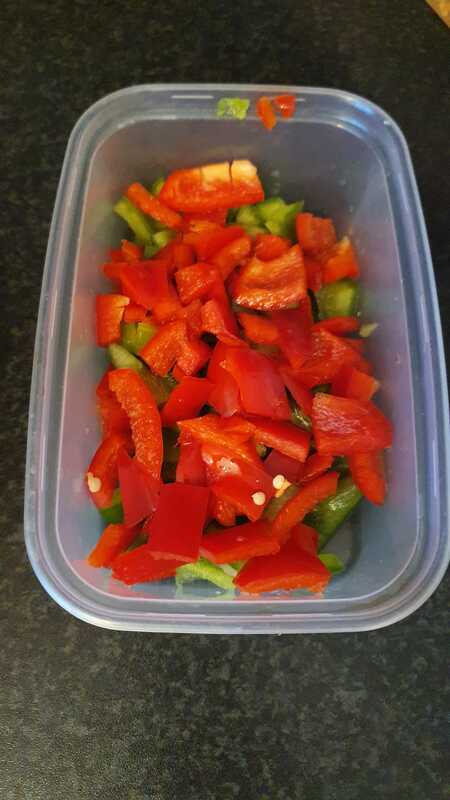
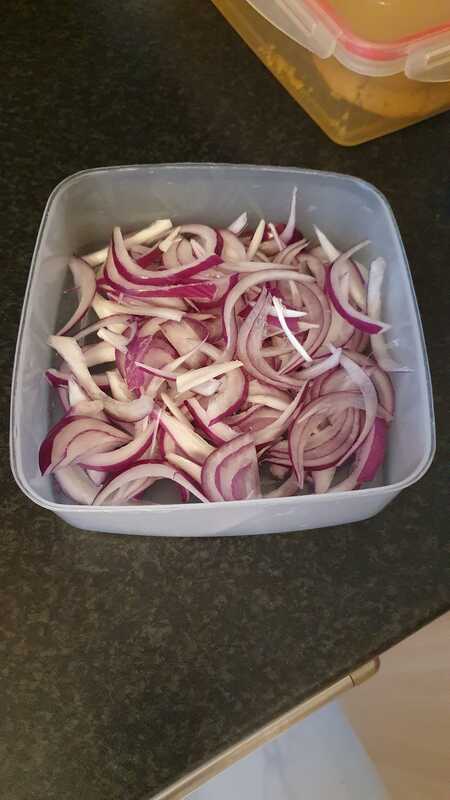
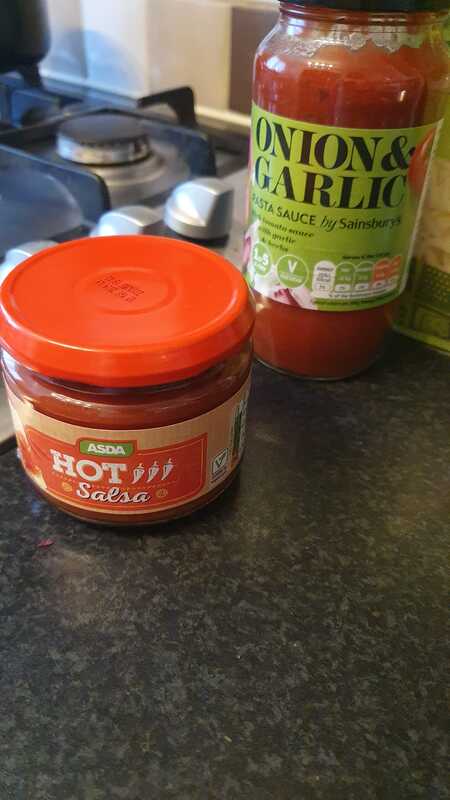
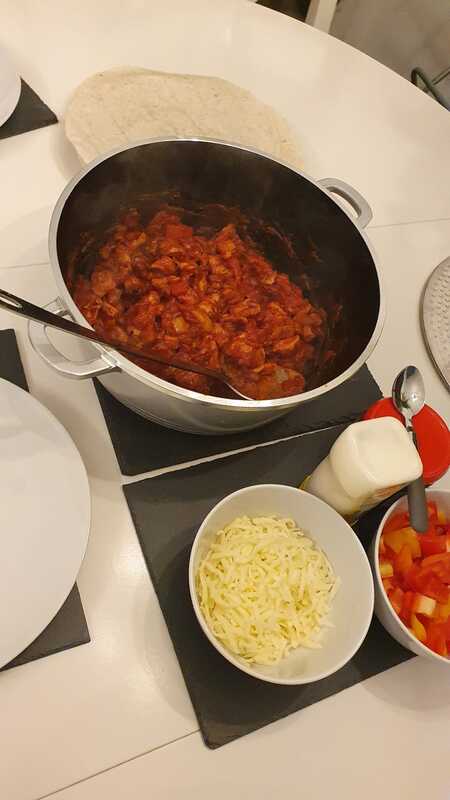
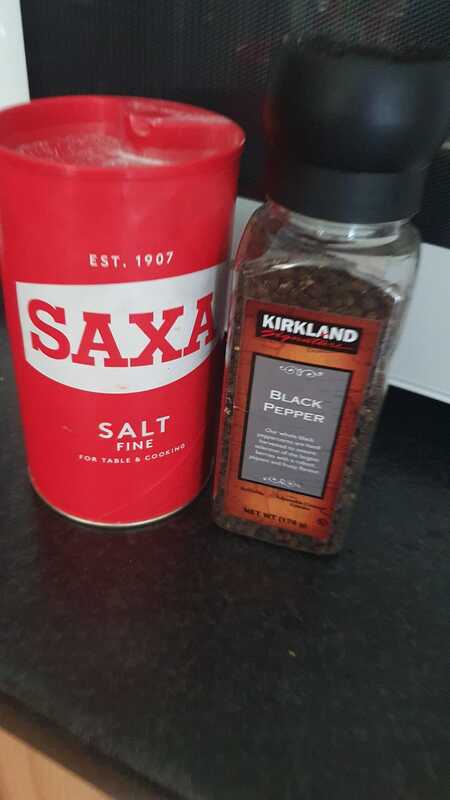
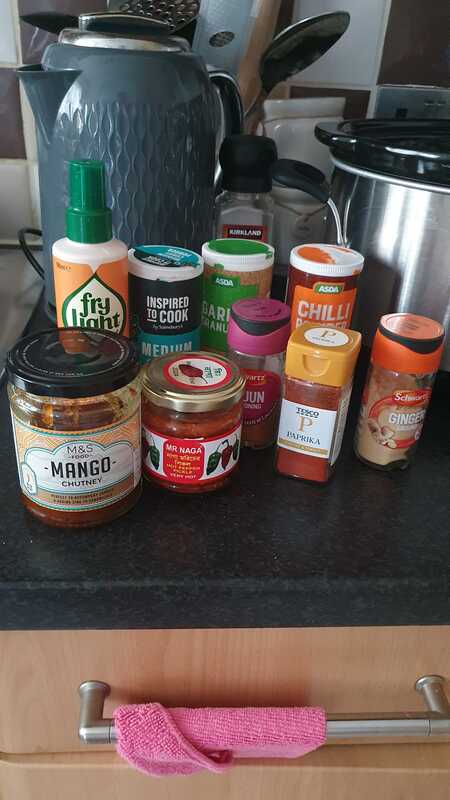
You will need: Fry light cooking spray Seasonings; I always use Salt, Pepper, Garlic Powder, Paprika, and Chilli Powder. Paprika goes amazingly well in this recipe so don't hold back with paprika on the chicken as it will be so flavoursome! If you can make sure you marinate your chicken overnight for this recipe as this will help to really lock in more flavour on the meat! 100g parmesan cheese 1kg of chicken breast chopped into cubes 100-150g Pasta, if you are cooking for your family then you may want to double up the chicken and pasta amount so you have plenty left over for a few meal prep meals! 1 red onion washed & chopped or you can cut into slices 1 whole pack of mushrooms chopped & washed Double Cream x1 Garlic Bread Baguette or Flatbread (this is optional but it tastes great when you dip it into the sauce!) Parsley Seasoning Large Cooking Dish Your fave green veggies to add to the dish when serving Method: Step 1- Take your chicken out of the fridge, sometimes to prevent the chicken being too cold you may want to let it sit out of the fridge for an hour before cooking, but I just whack it straight into the ninja from the fridge. Step 2- Spray your fry light and put in the ninja on air fry setting for 7 mins and then flip the chicken over and cook for another 7 mins. If you don't have a ninja then heat your cooking dish with fry light and cook the chicken until it is browned. If you can air fry your chicken this will stop it from drying out and keep it juicy & succulent. Step 3- Once your chicken is on the go you can heat your cooking dish and start cooking the onion and mushrooms. If you aren't using a ninja always add the onions and mushrooms once you have browned the chicken. They will only need 5-7 mins on a medium heat, make sure you keep an eye on it as otherwise it may burn. Step 4- Once you have done this, check on your chicken and it should be done. Then you are going to add your chicken to the mixture. If you aren't using your ninja your chicken will be in the dish still.. Step 5- Give it all a good stir and then you are going to add in your double cream. Now, this is the tricky part, once you've added the double cream try to keep on a medium heat and you are looking for little bubbles round the edge which will start boiling the cream. Let it do this and continue to do this for at least 5-7 mins. Once it really starts to bubble throughout the whole dish give it a good stir and turn down the heat a little. (I've added a pic so you can see the process, Picture 5) Step 6- From here add in the parmesan cheese and stir. From here I just leave the ingredients to simmer and lock in flavour. I always leave it for 15-20 mins so that it stays warm for when you are ready to eat. While you have the mixture on a simmer pop on your pan and spaghetti this will need about 10-12 mins and you are also going to turn on the oven and follow the instructions to do your garlic bread if you are making some. Go back to your cooking dish and add a very good handful of parsley leaves! Stir in and leave for a few more minutes! Step 7- To plate up add your favourite green veggies, and then you can weigh out your total mix to 300g or you can weigh out 100-125g pasta and then 100-150g of the mixture! Cut a nice little 1/4 slice of your garlic bread and enjoy!!!! I hope you enjoy making this recipe, send me a message via WhatsApp or Instagram/Facebook if you give it a go!! 31/1/2023 0 Comments Chicken Fajitas Recipe!!!You will need: Cooking dish with lid or pan Fry light 500-1kg of chicken breast- I recommend seasoning the night before as this really helps with the flavour I use fajita seasoning, garlic seasoning, chilli powder, salt and pepper Peppers chopped Onion x1 chopped or sliced (I always go for slices of onions for fajitas) Salsa for topping Supermarket Tomato Onion & Garlic sauce (you can make your own but for quickness I use out of a jar) Pack of tortillas Mozzarella Cheese Your fave veggies or salad to go on the side! x1 teaspoon of Mr.Naga for extra flavour and spice Method: Step 1: Firstly grab your chicken out of the fridge and either put in a grill, the ninja or you can fry until brown. I always use the ninja because it keeps the chicken more succulent and prevents it from drying out. The ninja also helps the chicken stay warm while you are doing the other parts. Pop the chicken into the ninja for 15-17 mins on air fry or brown the chicken for a good 10-15 mins. Step 2: Wait 10 minutes and then grab your pan or dish and spray fry light generously. Add in your onions and peppers and get them on a medium heat for 5-10 mins. Watch them closely otherwise they may burn a little. If you are using a pan already for the chicken just add it all in once the chicken is browned. Step 3: Once that's done take the chicken out of the ninja and add this to the mix of onions and peppers. To maintain the heat try to use a lid over your dish! I always recommend using a cooking dish as it maintain heat so much better! Mix that up and leave for a few mins. Step 4: Then you are going to add in your tomato sauce, I always use the whole thing but you can just use half of the jar if you don't like it too saucy! If you want to make things really spicy you can add a teaspoon of Mr.Naga at the same time you are adding the tomato sauce. Step 5: Turn the heat right down and leave to simmer for at least 10-15 mins, this will give more flavour. Once this is done, at the last 5 mins remove the lid and allow the air to get in so the sauce can reduce down a little otherwise it will be too saucy and the wraps will just drip! Step 6: Once that's all ready get your tortillas ready! Take all the tortillas out, if you are only making for 1-2 people you may want to use less. I do find with tortillas they are smaller, so if you want try to get wraps from the supermarket that aren't tortillas this will work just as good and you may be able to load them up more. Step 7: To heat up your tortillas and preventing them from sticking together use a tiny bit of water on your fingers or hand, do this for each wrap as you place them on a plate before putting in the microwave. Get your salad and veggies ready and add these to your plate. They will only need about 20 seconds in the microwave! Step 8: Once you are all ready I would recommend weighing out 150-175g of the fajita mixture and split this into two separate tortillas or wraps. Use a teaspoon of salsa along with a small handful of cheese and obviously pop some salad in there too! Enjoy!!! I have always said I would always attempt a curry recipe! I needed a bit of inspiration so I did a bit of research and thought I would give it a go! It turned out pretty good that I just had to share it!!! You will need:
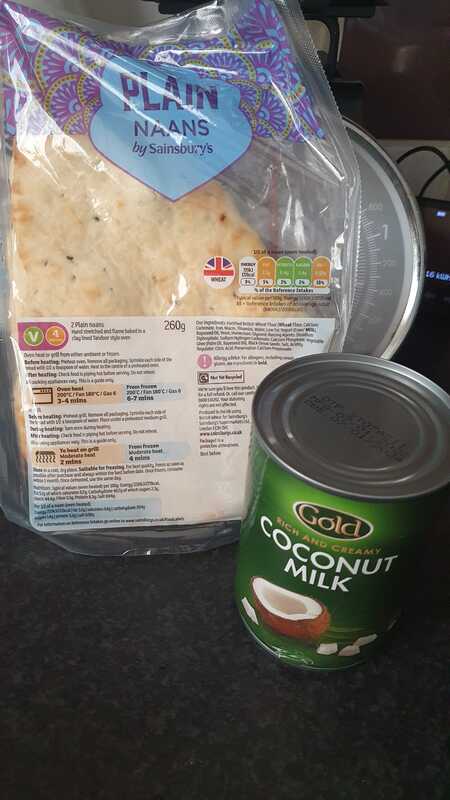
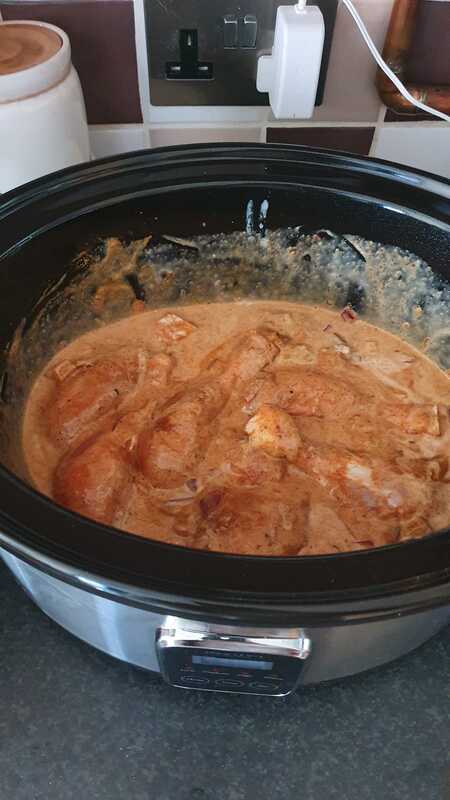
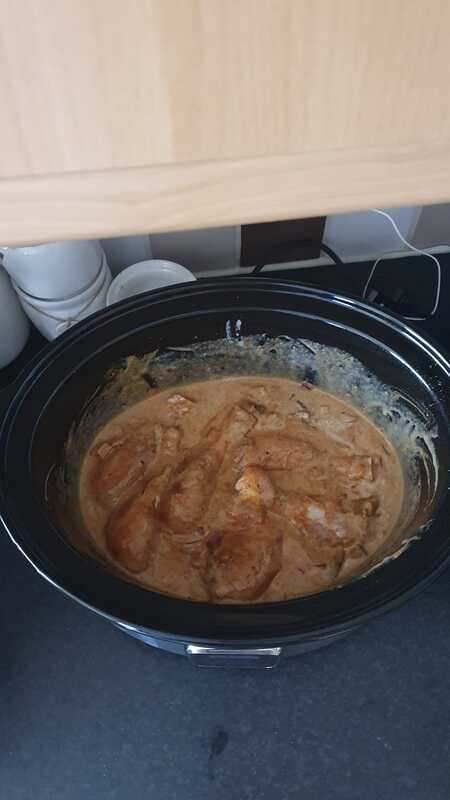
When plating up use about 100g cooked weight rice along with some of the naan bread, plate up some spinach or your fave veggies then add on x2-3 chicken drumsticks onto the rice with the sauce and dig in.
Method
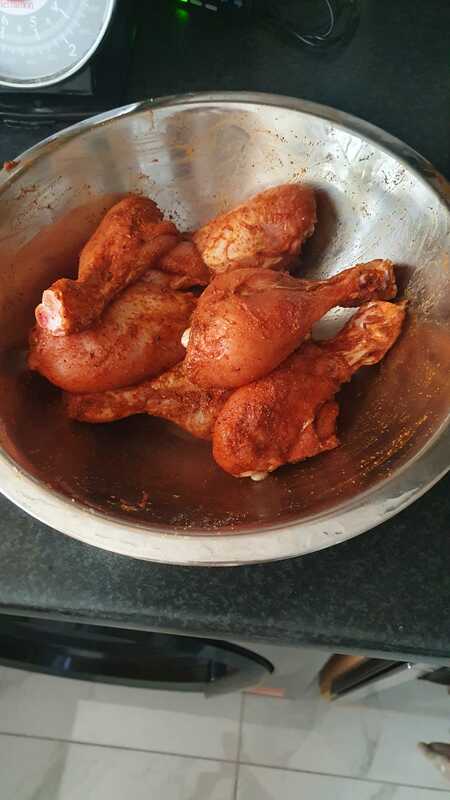
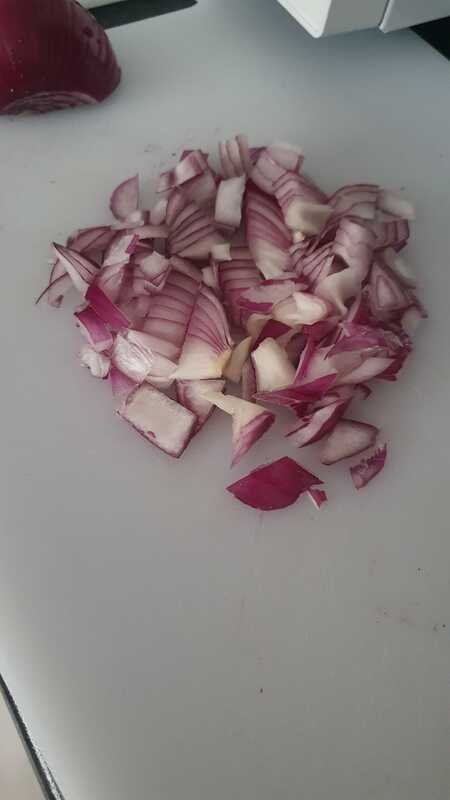
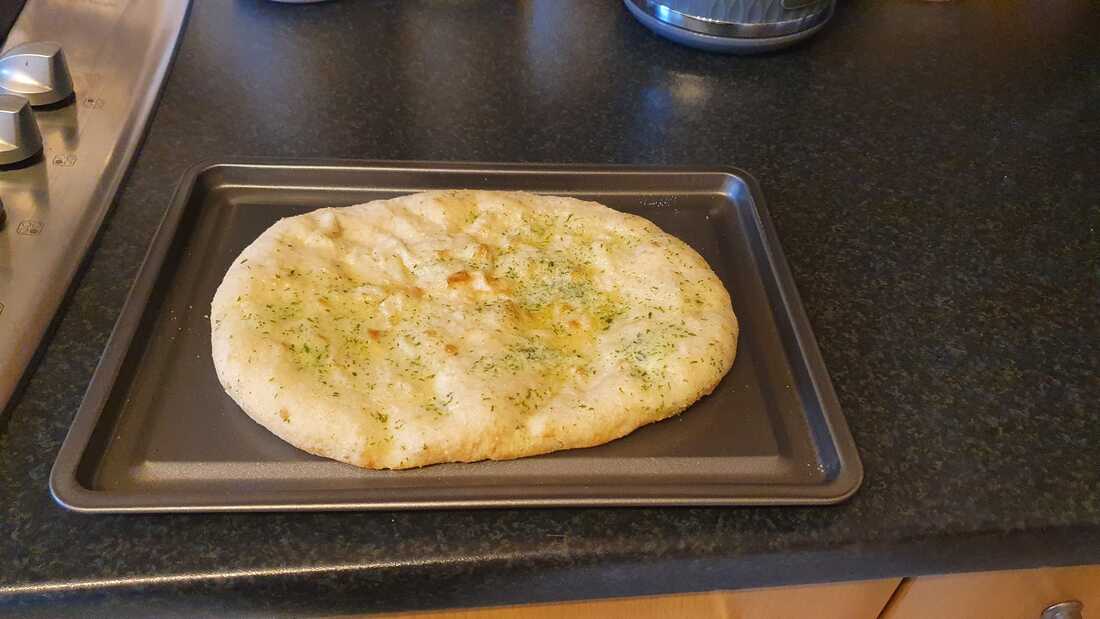
Step 1- Wash your chicken drumsticks, to take off some of the white and then pop them into a bowl. From here use your chilli powder, curry powder, salt and pepper to season up the chicken drumsticks. Mix it really well by using your hands. Wash your hands and set aside. Step 2- Once your chicken drumsticks have been seasoned, chop up your red onion into small cubes. From here you are going to spray some fry light into your slow cooker, I always do this as I don't like any of my food to be oily. Add the chicken drumsticks to the slow cooker along with the onion, then grab all the other ingredients that need to go in. Step 3- Then you need to add all your other ingredients, start with the coconut milk, then your mango chutney and add all your other seasonings on top. From here add in the garam masala and the Mr.Naga too! Step 4- Mix it all up and give it a really good stir!!! Once you have done that place the lid on and turn on your slow cooker. I put it on low for 6 hours but it's up to you what you decide to do, when chicken drumsticks are cooked on a lower heat it's better because the chicken becomes more tender and falls off the bone! Step 5- You may want to give the curry a stir every few hours, but if you aren't home it will be fine even if you don't stir it. In the last 10 mins you will want to prepare your rice and then in the last 5 mins get your naan bread prepared, you can put in the oven or the ninja for 4-5 mins dependant on instructions! Step 6- I hope you enjoy this one if you give it a go! If you don't have a slow cooker I do highly recommend you get one especially if you are a busy parent or lack time to prepare meals. A slow cooker does all the hard work all you have to do is chuck all the ingredients in and dig in after a long hard day! When plating up use about 100g cooked weight rice along with some of the naan bread about 1/4 piece size, plate up some spinach or your fave veggies then add on x2-3 chicken drumsticks onto the rice with the sauce and dig in. I thought it would be good to do a blog on this as I know when we embark on a health journey it can be a challenging time during the festive period especially when you are on a health, weight loss or transformation journey. Society has encouraged alot of us that binge eating during this time is the norm but just because society encourages us it doesn't mean we should, it is all about doing what feels right for you.
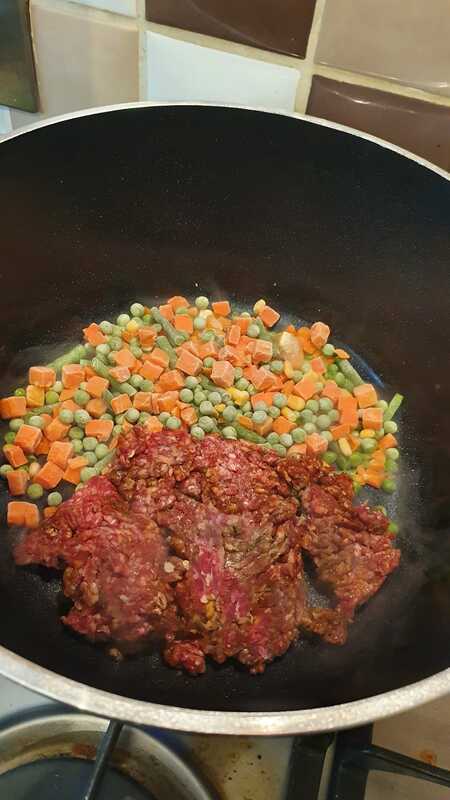
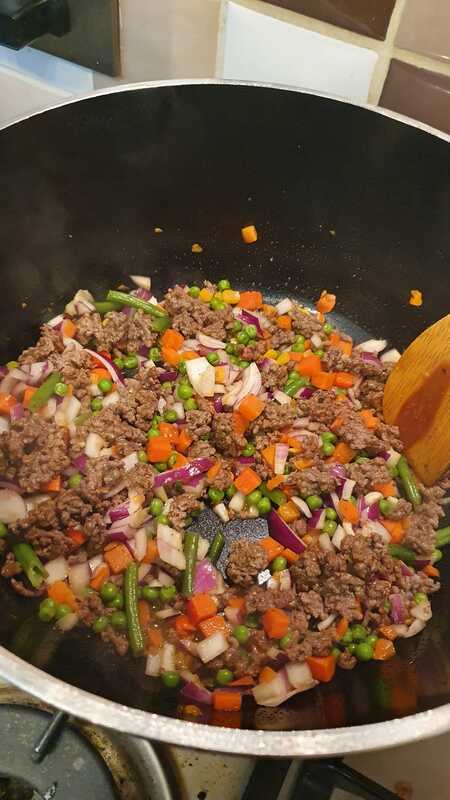
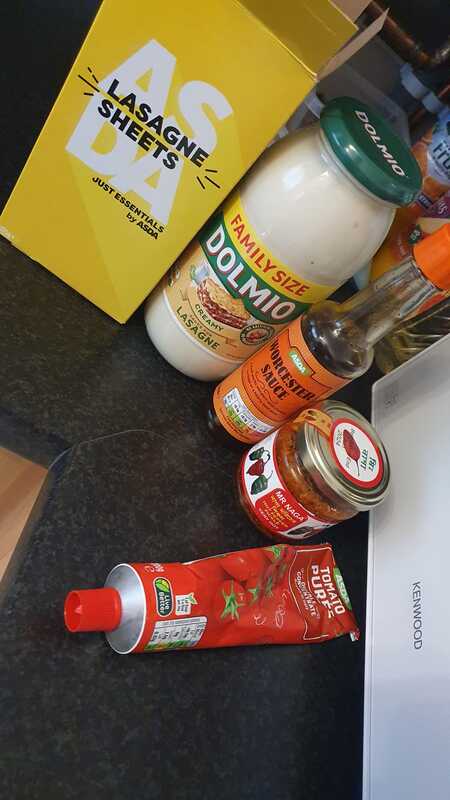
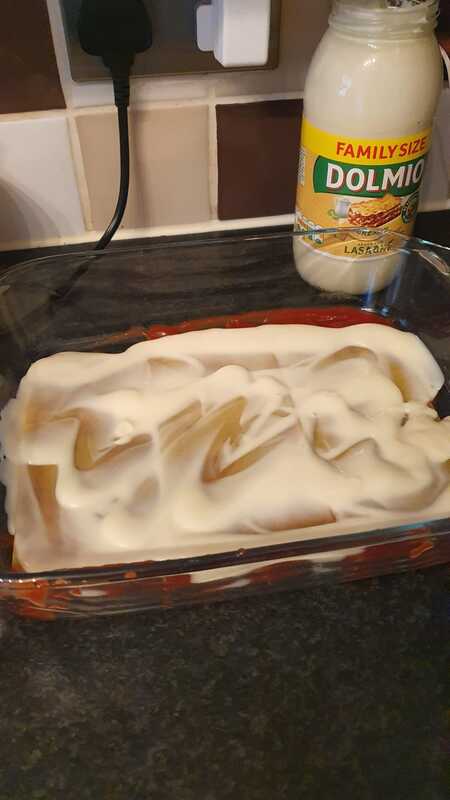
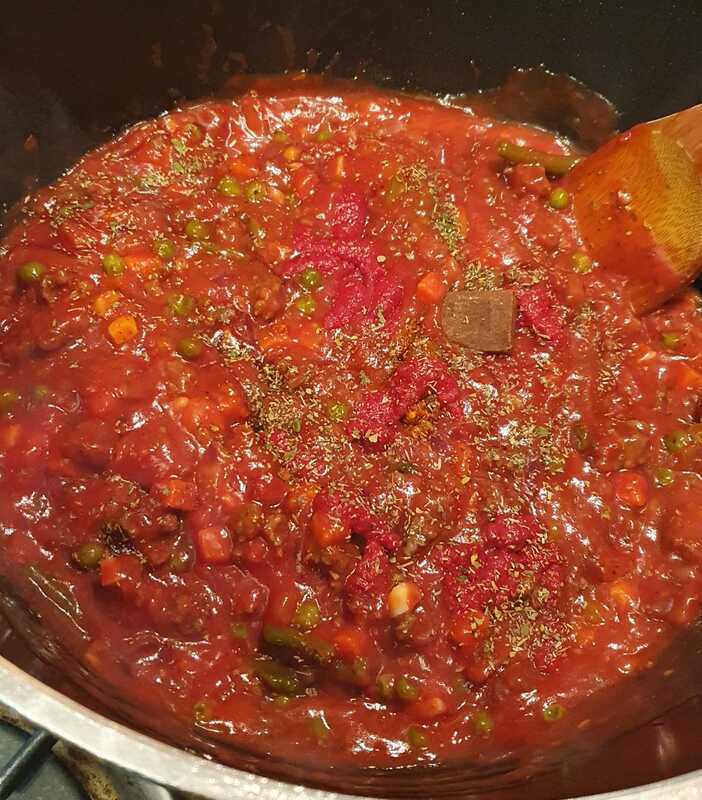
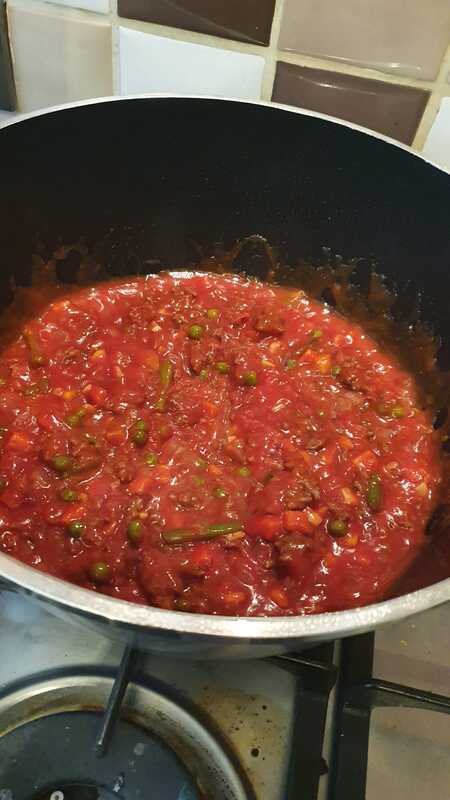
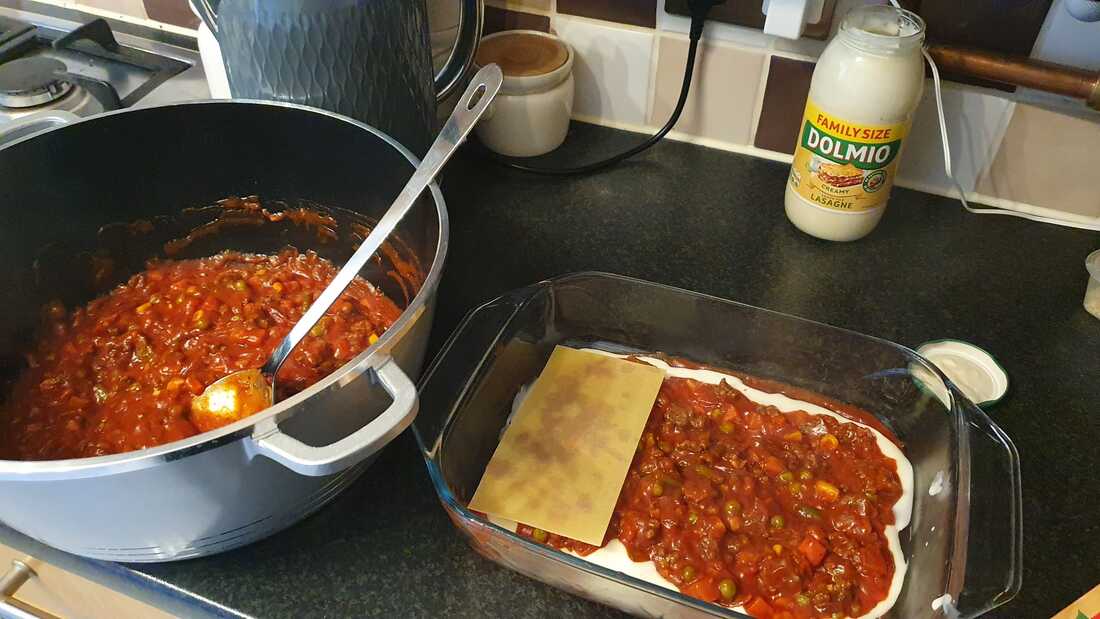
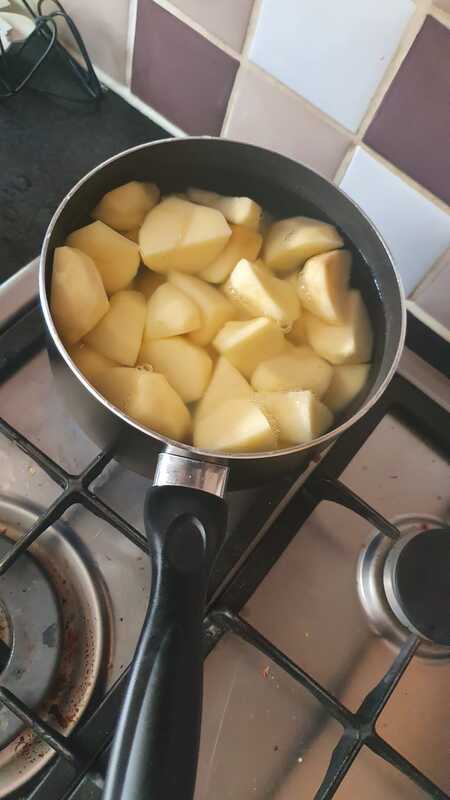
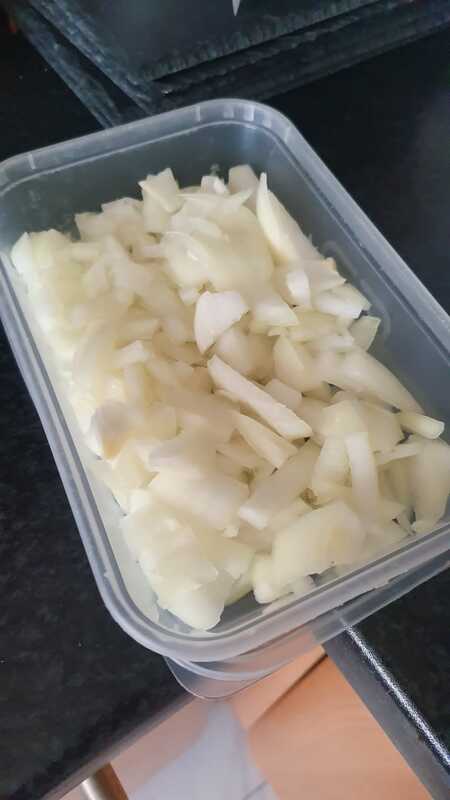
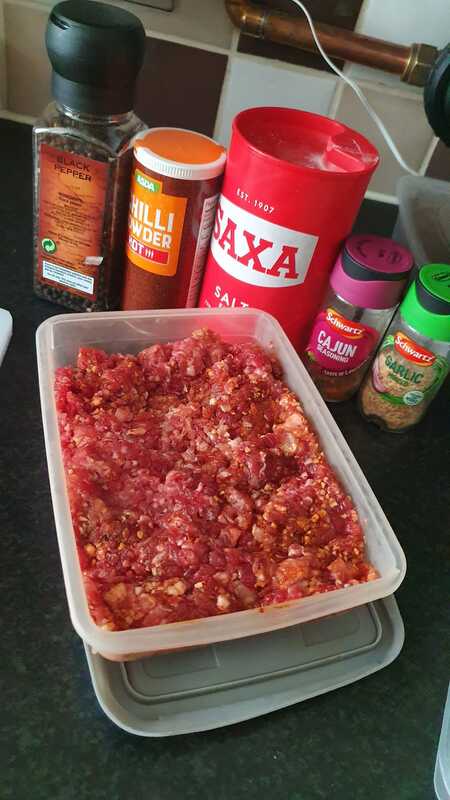
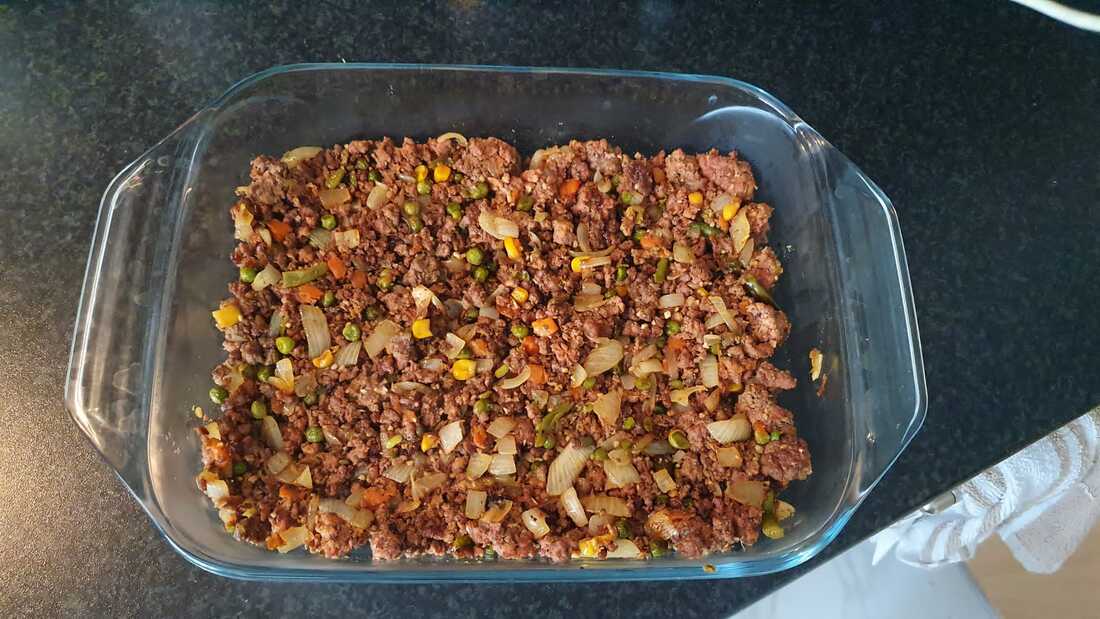
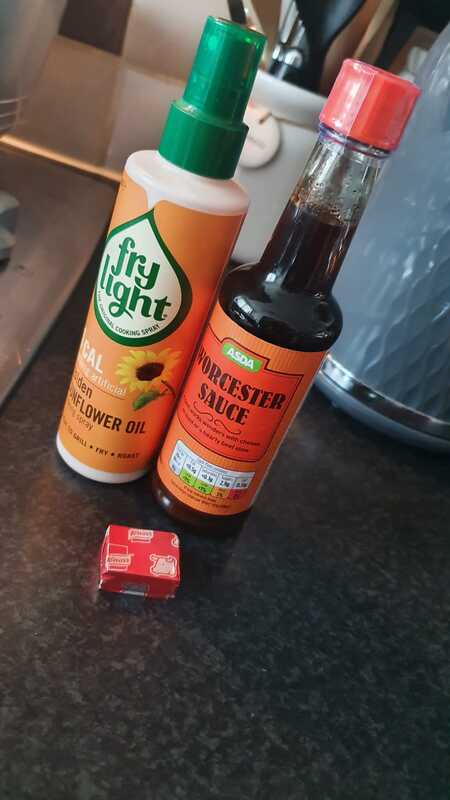
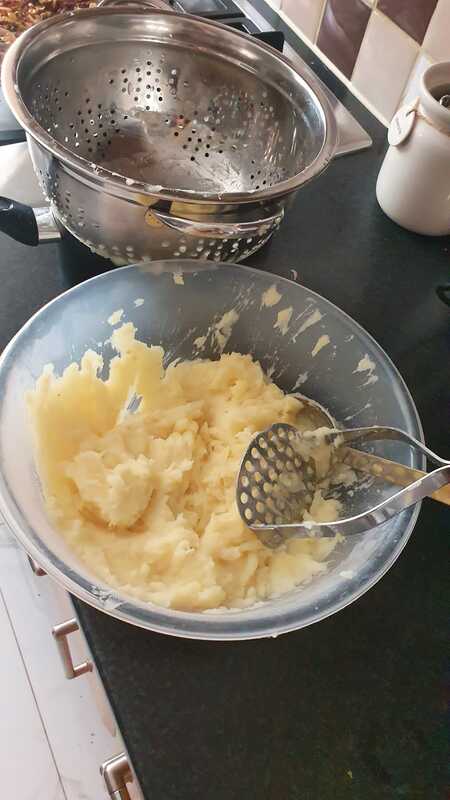
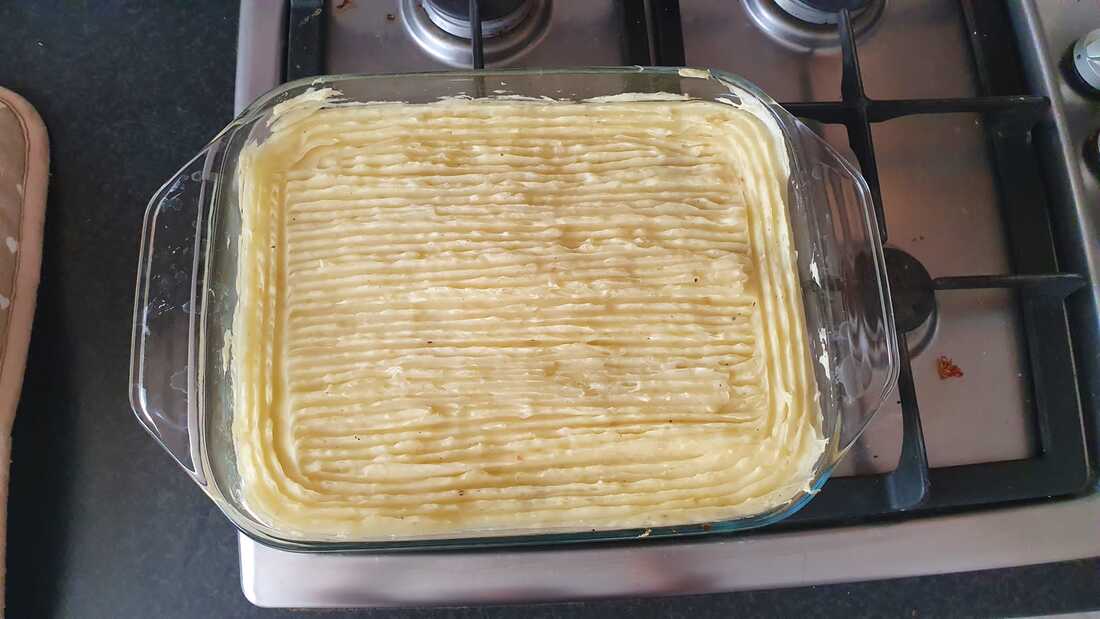
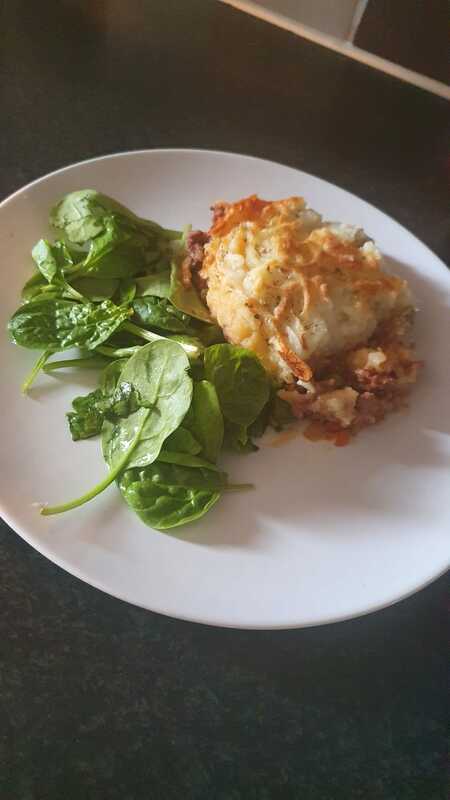
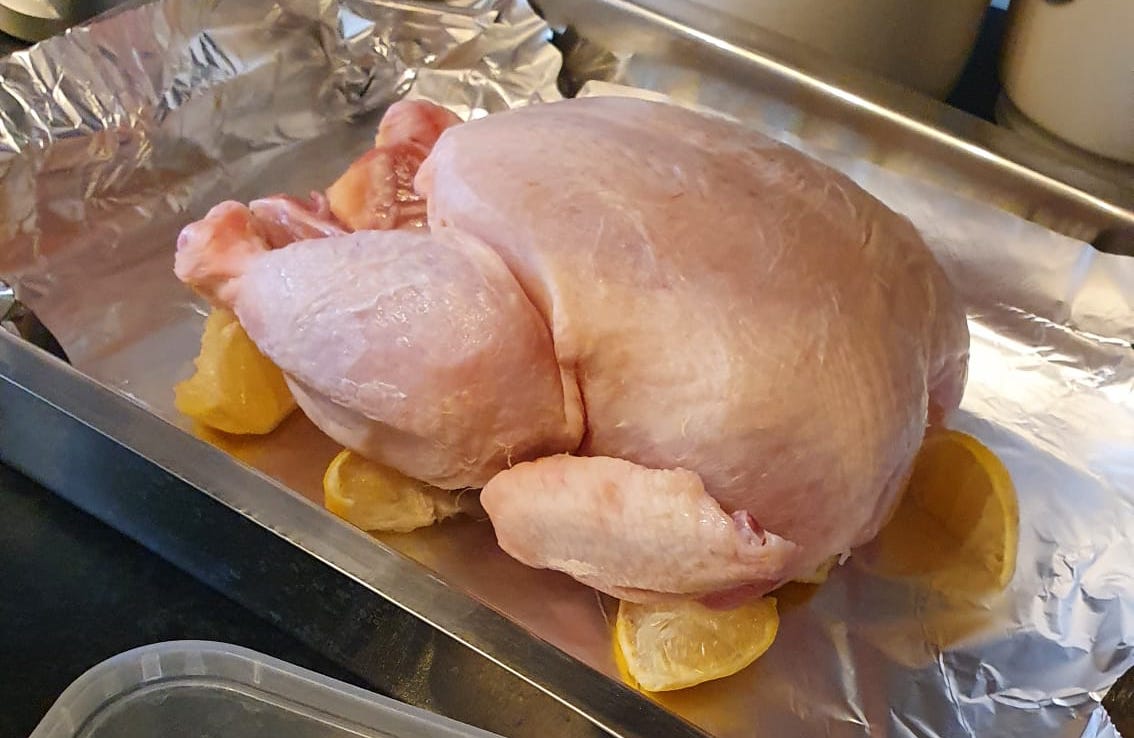
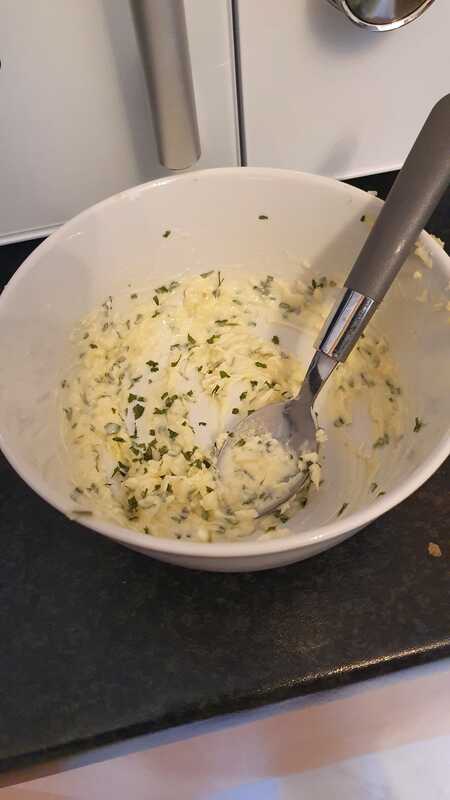
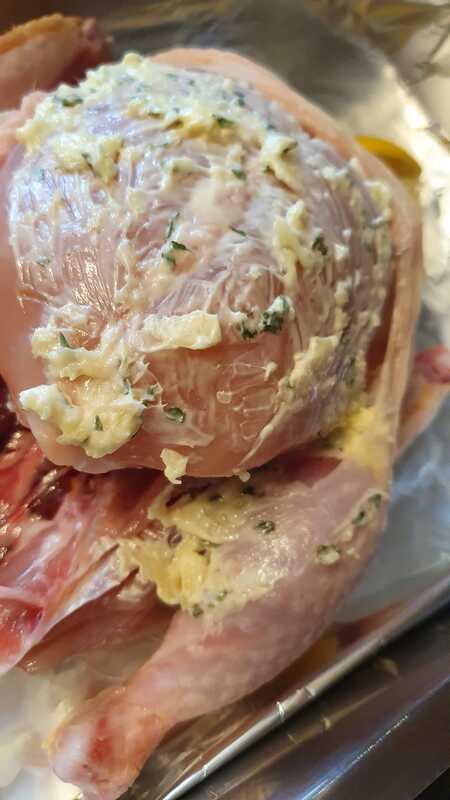
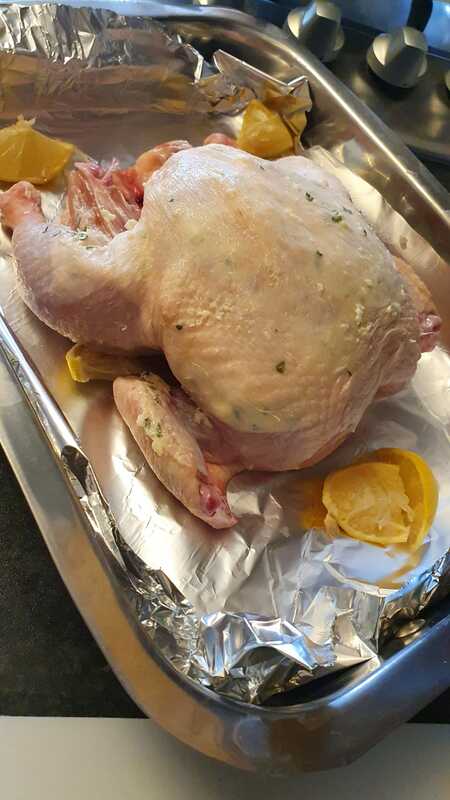
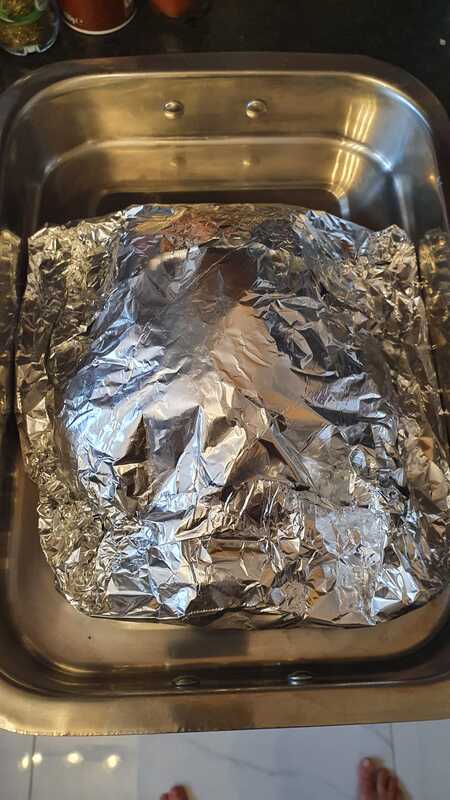
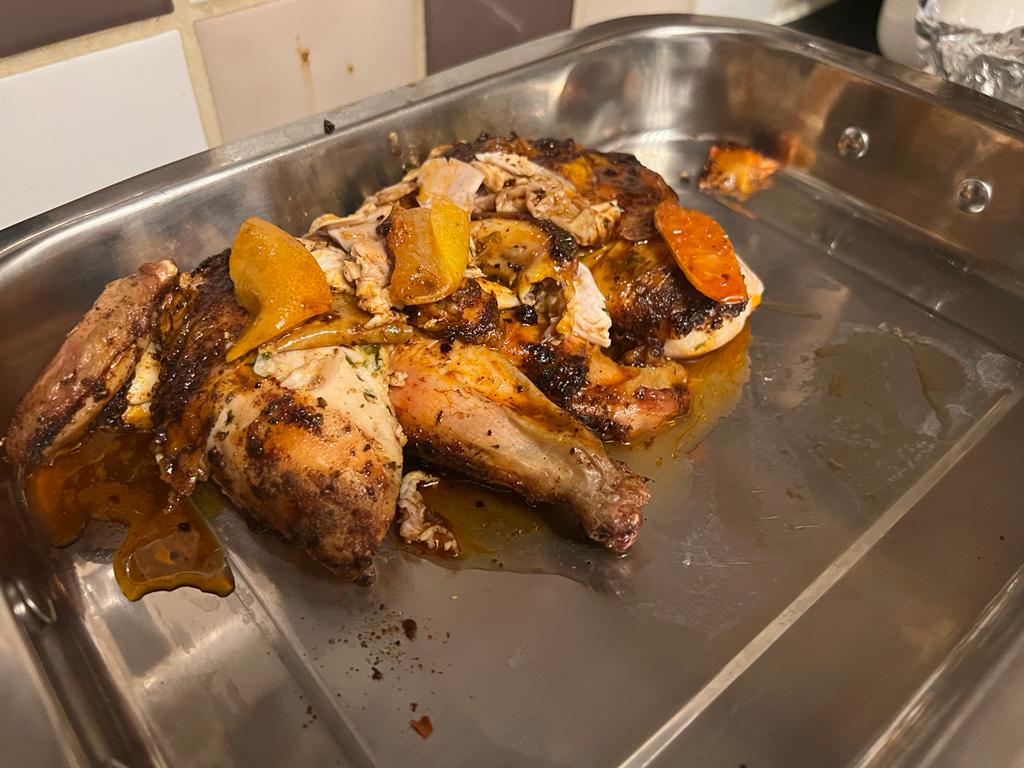
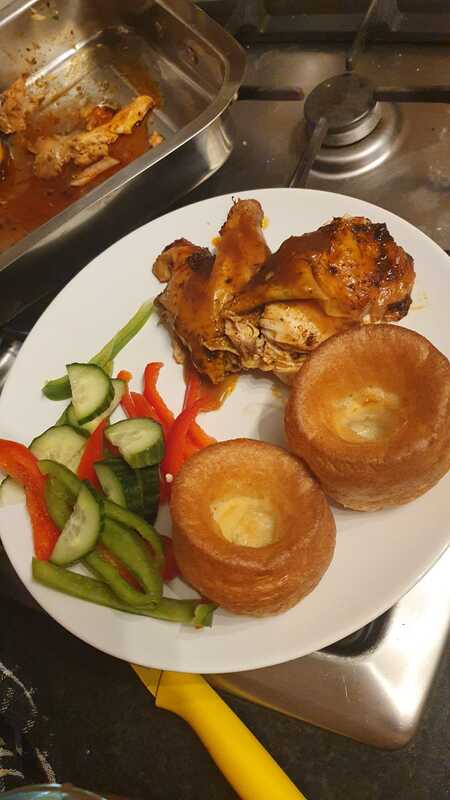
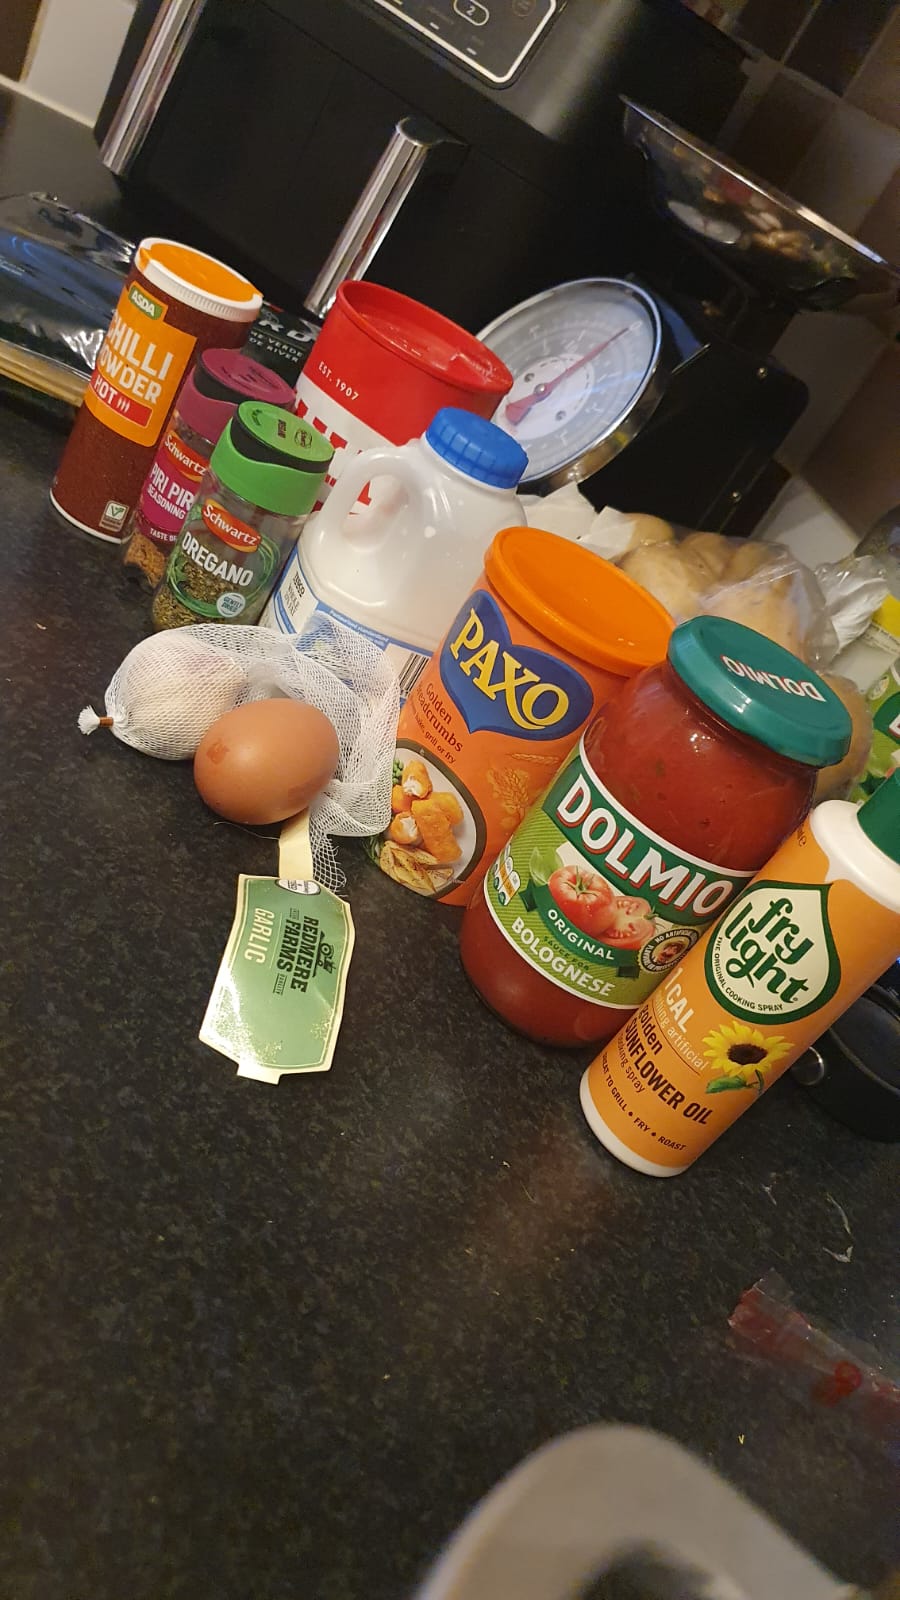
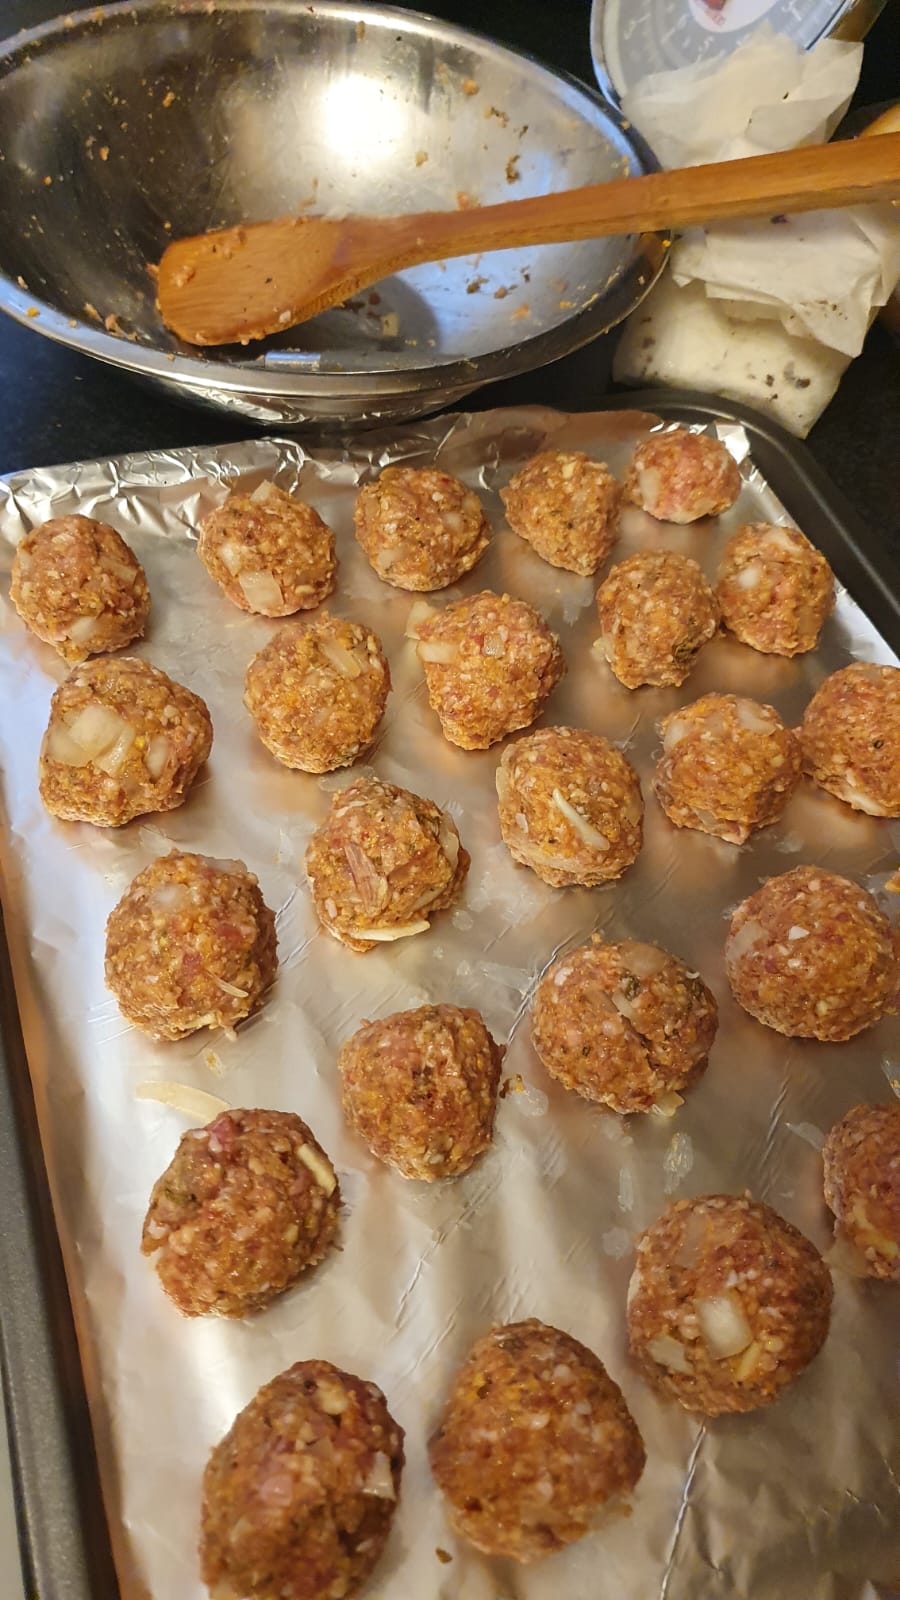
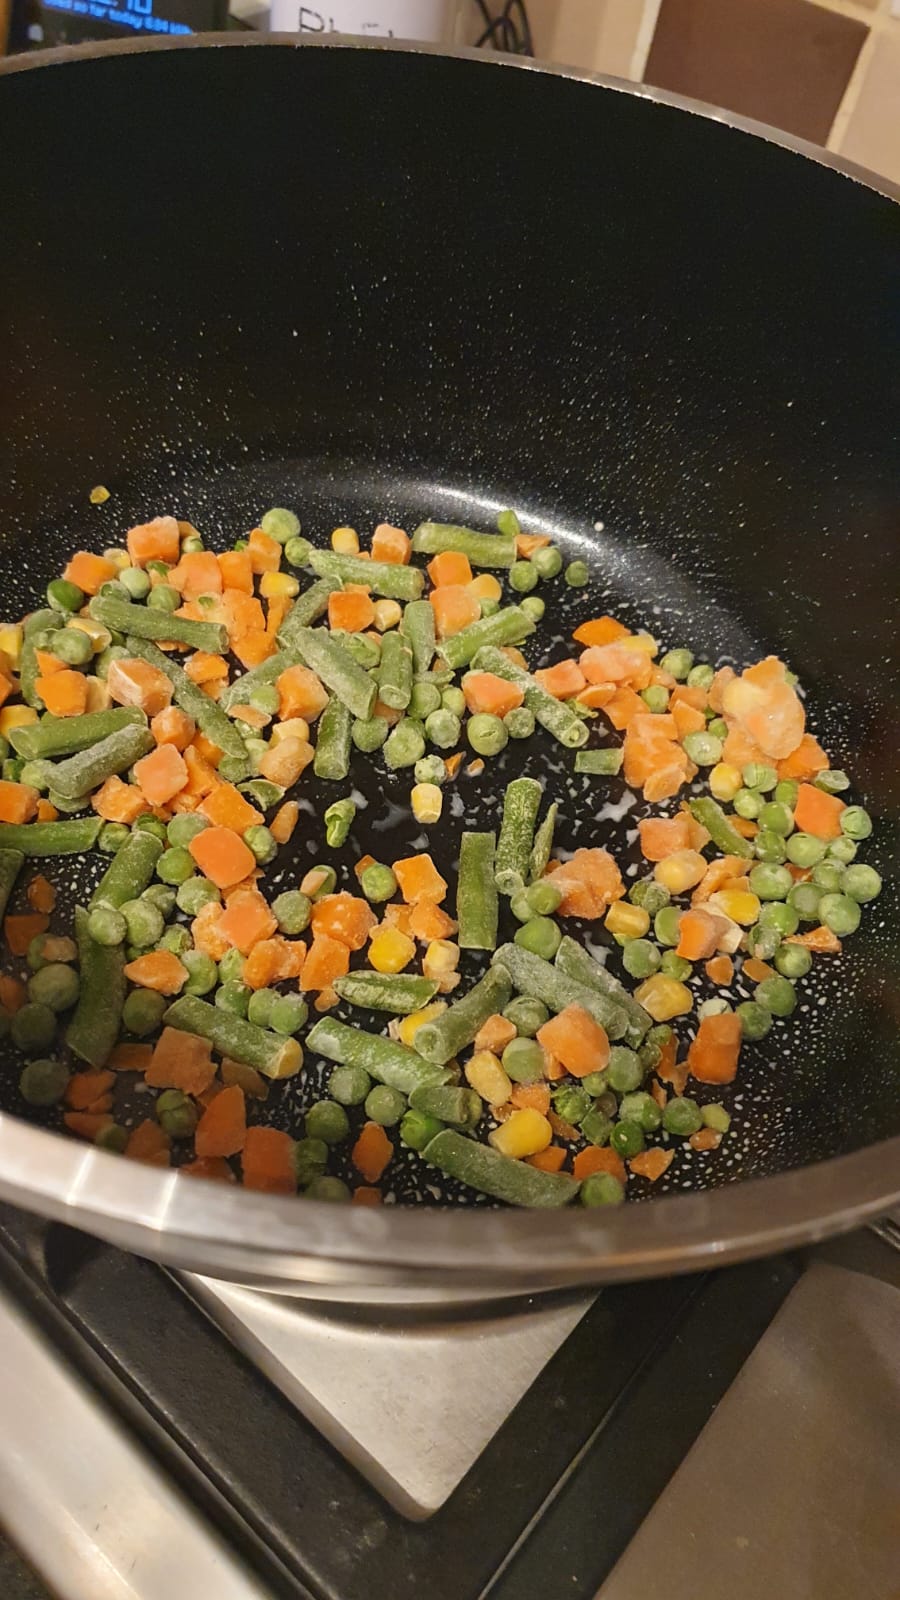
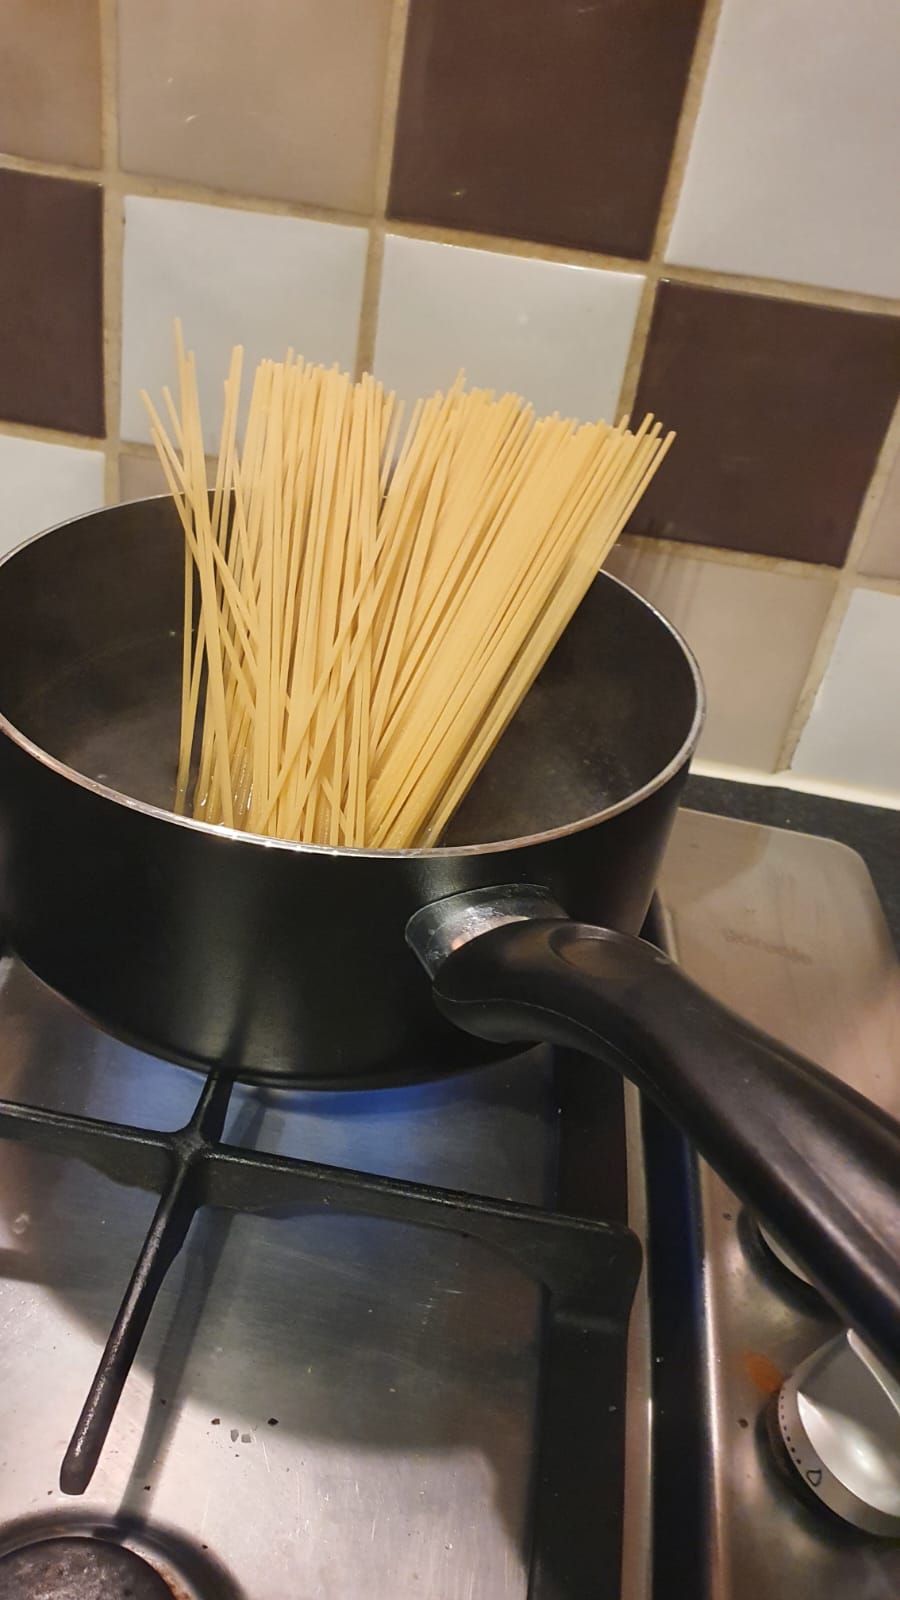
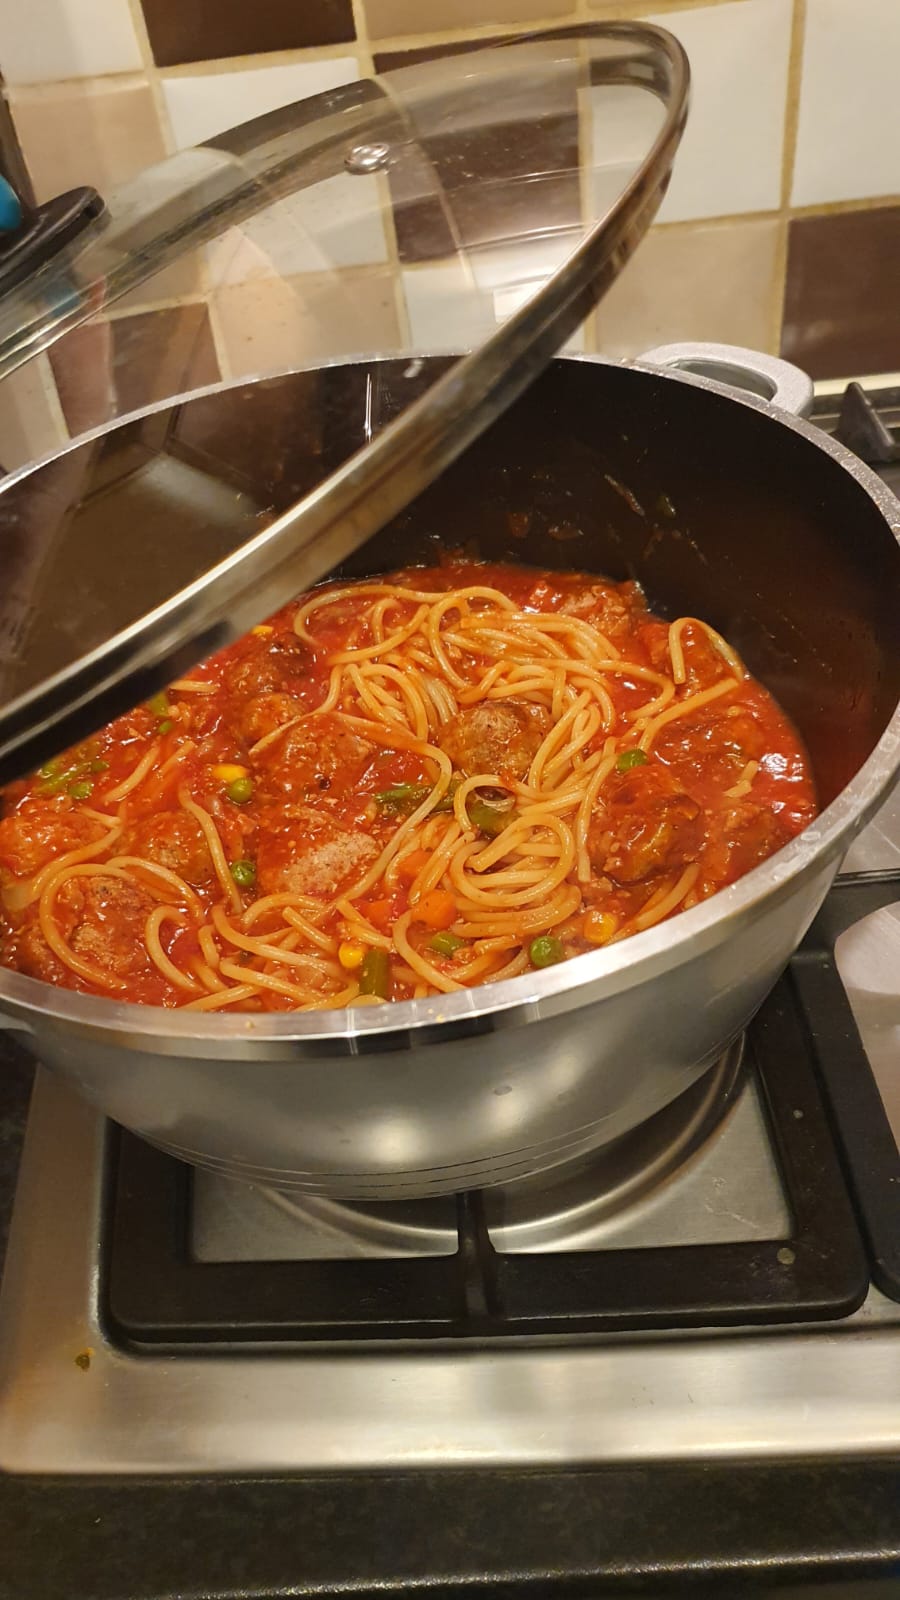
For me it has always made total and complete sense over the christmas and new year period! Here is why & my top tips and advice along the way.... Why its still good to train between Christmas and New year time For me when it comes to this sort of time it can be so easy to lose motivation! I've found in my experience speaking with clients between Christmas and New Year tends to be when their motivation will dip the most. Therefore I would encourage anyone including my clients and myself that are on a journey to train during the festive period! Christmas has come and gone but with the new year about to begin there is nothing like setting yourself up with a couple of workouts so you feel good and can get your 2023 kickstarted! I also like to squeeze in a few workouts in the lead up to Xmas too as it really helps me mentally & physically! How I stay motivated over Christmas ..... For me whether it's a holiday, birthday or even Christmas I really find that making a schedule really helps. Being consistent with a schedule and routine is what makes you stick at something not motivation. I do not change my schedule during this time and by doing so I regularly workout which keeps me focused and feeling good during the holidays, because let's be honest there may be a few days where you eat just that little bit more than normal. Which is completely fine btw ;) Why you shouldn't aim to diet or restrict yourself over Christmas... Where people always seem to go wrong is they try to stupidly diet for a whole month and then on Christmas day then end up going totally overboard. A way to prevent going overboard can be just simply do every day as a normal eating day even on Christmas day. Even if you had a little more on Christmas day that doesn't mean you should go back to a restrictive diet or starve yourself by not eating for the next day or days. Do everything as you normally would, enjoy a little extra but keep your structure the same. Why you should steer clear from the scales... Yes it's best to stay away from the scale as this can set you back and make you feel guilty especially if you are a few pounds up. Don't worry if you are a few pounds up, it'll drop back off once you resume your normal eating and training routine. It's no secret that when we indulge a little we sometimes feel guilty.. Don't worry this is a normal feeling but something that can help you is by telling yourself & normalising how one day isn't going to be the source of your weight gain. Therefore having some extra foods, drink and calories is not going to damage all your progress that you've been working hard on during this year! How to enjoy your Christmas and New Year as a balanced lifestyle... Remember training is a part of your lifestyle that keeps you healthy mentally and physically. Putting healthy nutritious foods into your body also plays a role in how you feel mentally and physically. With this in mind try to keep a balanced approach when it comes to those healthy food choices along with the ones that may not have as many nutrient benefits but are always gonna be OK from time to time. Alcohol can also cause us to chase the buzz, reduce endorphin release and can cause mental health issues when consumed in high quantities. With this in mind, go easy and don't go crazy, having a few is a much more sensible way to keep an enjoyable balance! Why Christmas day & New Years won't ruin your progress... As I said before it's important you rationalise and normalise that one day such as Christmas Day and New Years Eve or New Years Day isn't going to detrimentally affect your progress made. Whether you've been training for 3 months, 6 months or a year + all the progress you have made can't simply be undone in one day, always remember this! Don't get caught up in overindulgence for 2-3 weeks as this will begin to make an unhealthy impact in not only how you feel but also your willingness to get back to training. At this point it will start to catch up with you because as we know weight gain does always happen over time within our lifestyle habits and behaviours. All in all when it comes to special times and events it really is everything in moderation. We work hard all year round to enjoy these special moments just like holidays and birthdays etc. Please dont feel guilt at this time of year and go enjoy yourself! I do not believe in restriction or dieting methods around this period because its very unnecessary!!! If I don't do it then I certainly don't want client's doing it or anyone who is trying to create a healthy balanced lifestyle for themselves! A healthy lifestyle really is all about balance & moderation that doesn't leave you restricted, starved or suffering. So if you are eating some chocolate, having some cake, enjoying a few drinks, and having those few extra calories enjoy it! This isn't going to be detrimental to the progress you've already made! I hope anyone reading this blog has found it useful and you all enjoy your Christmas break & New Year!! Love Zo x x 1/12/2022 0 Comments My homemade Lasagna!Growing up Lasagna was also another one of my favourites! In my opinion there is nothing better than a homemade Lasagna! Let's be honest restaurant ones do suck!!! Since I moved into my house I have been able to explore much more with cooking and put my own little twist on things! After attempting this 3 or 4 times, only now am I ready to share how I do it, as it can take a few goes to get it just right! One thing that used to bug me was the lasagna sheets on top they would either be too hard, too crispy and just not taste right! I even tried soaking them before cooking but in the end I gave up with this! Top tip: What I do now is layer the mince right on top and top it off with cheese instead! I highly recommend doing it this way for better results and taste! You will need: Fry light cooking spray Seasoning; I used Salt, Pepper, Italian Herbs, Paprika, Chilli powder and Garlic. Lasagna Sheets x1 Dolmio Jar Tomato Bolognese/Onion/Garlic or you can make your own sauce x1 Dolmio Jar Cream Sauce or you can make your own x1 Red Onion chopped 500g-1kg 5% fat beef mince or you can use vegan/vegetarian mince (season the day before if you can) 2 handfuls of frozen veg (be generous) Mozzarella 1-2 slices of garlic bread or you can make a flatbread and cut yourself a little 1/4 for serving 1 rectangle glass baking dish 1 cooking dish 1 tbsp Mr.Naga Few dashes of Worcester Sauce 1 beef stock cube 1-5 tsp tomato puree For serving: Spinach or your favourite salad/veggies covering 1/2 plate 1/4 serving of garlic bread or 1 slice Portion up a square serving of the lasagna you may need a knife to make a precision cut and then use a flat utensil to dig it out and plate it up & enjoy! Method: Step 1- Add your frozen veggies to the dish and spray with fry light do this for about 5-7 mins. From here add your mince and cook until brown. From here add in the chopped red onion and cook for another 5-7 mins on a medium heat. Try to cover the dish with a lid if you can as it locks in the heat better! Step 2- Once this is done lay out your glass baking dish and open the tomato jar sauce. Using a spoon use a small spoonful and spread this onto the bottom of the dish, from here you are then going to cover that sauce with 3 lasagna sheets. (Refer to diagram below picture 4) Step 3- Next open the Dolmio cream jar and you are going to layer a little bit over the top of the lasagna sheets. (Refer to diagram below picture 5) Step 4- Going back to the mince mixture make sure you now add the rest of all the tomato sauce, the stock cube, tomato puree, Worcester sauce, mr naga and a dash seasoning of Italian herbs. Stir and leave to simmer for 5-7 mins. Then remove the lid and allow the mixture to absorb some air for 5-10 mins. Step 5- Going back to your glass baking dish you are now going to add some of the mince mixture on top of the cream coated lasagna sheets. From this stage you are going to start creating the layers. It goes mince, lasagna sheets, cream, mince, lasagna sheets, cream and keep going until you reach the top; the last layer should be the mince. (Refer to diagram below picture 8) Step 6- Once the final layer is the mince, grab out your mozzarella and you are going to coat this all over the mince layer for the top of the lasagna. You can use other cheese if you prefer but mozzarella is my fave which is why I use it! (see diagram below picture 9) Step 7- Pop your lasagna in the oven and set the temp to 180 for 10 mins. After 15 mins turn it back down to 160 and leave for 20 mins. (This will prevent the cheese from burning too much!) 10-15 mins before your lasagna is done you will need to pop the garlic bread in too (follow instructions for garlic bread on the back of the packaging). Step 8- Once your lasagna is done take it out the oven and let it sit for 5 mins or so. Get your veggies and fave salad ready and pop this onto your plate. From here cut a 1/4 portion the size of your fist from the dish and plate up! Add a mini slice of garlic bread and enjoy!!!! This one is super tasty and trust me when I say it is something I make on a weekly basis!!!! By batch cooking this you can get a good 3-4 meals out of this!!! You're welcome!!! :) 9/11/2022 0 Comments My homemade Shepherd's PieIt's not one to be missed and it's such a tasty comfort food! Who doesn't love a good Shepherd's Pie in the Autumn & Winter seasons! You will need: 1 cooking dish & lid 1 large glass dish for the pie 1 pan 1 mixing bowl Colander Masher Tool Ingredients: Fry light oil 500g-1 kg of mince; try to season night before for best flavour 1 large onion finely chopped; to prevent soreness to eyes rinse under water and de skin in the sink x2-3 garlic gloves or you can use garlic powder which is slightly easier time wise 8-10 White potatoes, peeled, chopped and soaked in water the night before Seasonings of your choice I used; oregano, italian herbs, salt & pepper, chilli powder 1 tbsp Mr Naga if you like it to have a kick and extra spice 1 beef stock cube 5-6 dashes of Worcester Sauce Frozen veg x2-3 handfuls 1 spoonful of butter, sprinkle of salt & pepper into a bowl just before you mash the potatoes 40-50g Mozzarella Cheese Method: Step 1- Wash the potatoes, peel and soak them in water the night before. On the next day you will find the potatoes will be softer and easier to chop into smaller pieces. Make sure you chop your onion into finely diced pieces and try to season the meat the night before too! Pop the potatoes on a high heat and leave to boil for 35-45 mins (this is always the time consuming part but so worth it!) Step 2- Start to create your mince mix you are going to add your x3 handfuls of veggies into the cooking dish, leave for 3-5 mins and then add your onions and garlic. Leave this for another few minutes and then you are going to add your mince on a medium-high heat and brown for 5-10 mins. Step 3- Once your mince has been browned add your mr naga if you want extra spice, then the stock cube, dashes of Worcester sauce, mix and leave to simmer for 5-8 mins with the lid on. From here stir again, lift the lid and allow the mixture to air out for 5-8 mins and then from here you are going to add the mixture into your baking dish as shown below. Leave the mince to slightly cool in the dish. Step 4- Once the mince is cooling, check on your potatoes and make sure they are soft. Get your mixing bowl ready with 1 tsp of butter, sprinkling of salt & pepper as you are going to add the potatoes to this once they are ready. You want the potatoes to be as soft as possible as this will make it easier to mash them up but also this will prevent the potato from being too lumpy. Drain the potatoes in the colander and then transfer to the bowl. Step 5- Once your potatoes are drained start by adding small spoonfuls of the potatoes to the mixing bowl and grab your masher. My potato masher from Sainsbury's is by far one of the best things I have bought it is super bouncy and allows a very flexible movement which is great for potato mashing! Keep going until you have no potatoes left and spend a good 5 or so minutes just making sure you have mashed as much as you can to prevent lumps. Some may argue you should add milk to your potatoes but I don't do this as I prefer a potatoes and butter combo but again it's personal preference! Step 6- This part is the hard part but once you do it a few times you get used to it! With your mashed potato try to do spoonfuls with a normal spoon and try to dollop it all over the mince. You will need to do this gradually one dollop at a time. With the spoonfuls you are just simply trying to cover the mince. Don't drag the spoon until all your spoonfuls are covering the mince mixture! Then once all of the meat is covered in potato you can then take the soft side of your spoon and begin to smooth out the mash on top. Once you've got it all flat & smooth you then can take a fork and drag it in horizontal lines. Then take the fork the whole way round to do the edges. Step 7- Place in the oven at 180 degrees and leave for 25-30 mins. About 10-15mins before the end you can add your cheese. I always try to stay between 30-50g mozzarella because we still want to be mindful about calories. To plate up you are going to add some of your favourite vegetables and then cut a small 1/4 about the size of your fist and dig in! Ever since I was a kid I used to love a roast dinner, as tradition every Sunday my dad would cook up a banging roast! Since then roast dinner has always been a huge favourite of mine, so I have decided to start sharing my homemade roast chicken dinner with you all! This one is super tasty, takes a little bit more prep time and cooking time but trust me the end result is incredibly worth it! For best flavour and results I recommend you marinate the chicken overnight the day before you cook it! The only tricky thing is cutting up the chicken once it's cooked but I will attach a recommended Youtube video I used which worked wonders! There was little wastage and plenty of chicken to eat so I was super happy! Ingredients: Fry Light Foil Seasoning; I used Salt, Pepper, Paprika, Piri-piri, Chilli Powder and Oregano. Small bowl, x4 garlic mince gloves, 2 tablespoons of butter and dash of parsley to make the garlic butter. x2 Yorkshire Puddings per person Baking Tray Chopping Board Frozen Veggies to add to your plate for serving. Bisto Gravy to go on top; I used 2 heaps and 200ml boiled kettle water, mix it up and it's ready to add on top! I always do a little drizzle as the flavour is so good you won't even need gravy so the gravy is optional! x1 baby roast chicken (I was only cooking for 2 people, if it's for a bigger family you may want to buy 2 or a large one. You will need an oven or a ninja to cook the chicken, I do recommend the ninja as it will come out juicer and more succulent. Method: Step 1- Line your baking tray with foil. Chop up the lemon and slice it up then place the slices on the baking tray and get out the chicken. From here place the chicken on top of the lemon and add a few slices inside, this will alleviate smell while the chicken is cooking later on. Step 2- (pulling back the skin of the chicken) You will need a big spoon for this. Turn the spoon over and begin to push your spoon upwards as you go under the skin on the top of the chicken. It takes a little practice but try to do it delicately and go as far as you can. This is so you can apply the garlic butter under the chicken skin. Step 3- In a bowl add your four gloves of minced garlic, and 2 generous spoonfuls of butter. Stir this up in a bowl and mix well, then add a dash of parsley and mix again! Who knew garlic butter was this easy to make?! It blew my mind and it is super tasty! Using a small teaspoon start to rub the garlic butter all over the top of the chicken where you have pulled back the skin. Use it all up and coat over the chicken and even inside if you have some spare! Pull the chicken skin back over and then you are ready to get going with your seasoning! Step 4- Add your seasonings! I normally use salt, pepper, oregano, chilli powder, paprika and piri-piri seasonings! I always find these to be the best on chicken for flavour but it is personal preference on what you want to use! Then I cover this over with foil and I allow the chicken to marinate overnight or for at least 12 hours. Step 5- The next day take out your chicken at least 1 hour before you cook it. From here spray fry light onto the chicken and into the ninja. You can keep it on the foil if it's going in the oven but make sure you spray fry light onto the foil so it doesn't stick. If it is going in the ninja take it out of the foil and place it inside. I used the roast setting and cooked this for at least 50 mins. Step 6- Make sure you check on the chicken regularly if it looks like it's starting to chargrill on the top just add more fry light to lock in moisture. Once your chicken is done and cooked take it out and place it on the chopping board. The hardest part is cutting up the roast chicken, so I headed to youtube to find one that could explain it! https://www.youtube.com/watch?v=U3OvdvgMKs8 Step 7- Before you start to cut up your chicken, get your Yorkshire's in the ninja or oven and prepare your salad and vegetables! If you want gravy you will need to prepare this too! Cut up your chicken and then it's ready to serve. I always portion up about a fist size portion of chicken, x2 yorkshires and half a plate of salad and veggies! I hope you love this one and please let me know in the comments if you give it a go! Thanks for reading my food blog today! Zoe x 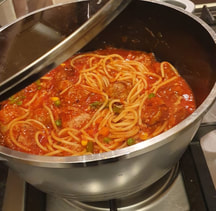 My delicious homemade meatball recipe! It is slightly higher on the calorie end but is still a great meal you can whip up for the family! You just have to try this! Ingredient list: Fry light spray Baking tray Cooking dish Pan for the spaghetti Foil Dolmio original sauce or you can make your own Lamb/Beef Mince 500g-1kg depending on how many you want to make (lamb or beef work really well) Breadcrumbs (I used Paxo ones) Milk 30g/small sprinkling of mozzarella cheese Eggs Seasonings; I used Salt, Pepper, Oregano, Chilli Powder, Piri Piri & Italian Herbs 4-5 Garlic cloves 1-2 onions diced (you want them to be fairly small) Frozen mixed veg Worcester Sauce Mr Naga; for those of you that like spicy goodness ;) Tomato Puree Spaghetti (If batch cooking to handfuls if only using 500g mince then a good handful will be plenty of spaghetti) Method: Step 1- Add your mince to a bowl then add your seasonings and give it a stir! Chop up your onion nice & fine and add 4-5 minced or chopped finely garlic cloves! Step 2- From here add a small glass/100ml milk, the egg and breadcrumbs to the mixture! Then give this all another mix up, for this part you may want to use your hands to make sure it is completely covered and everything is mixed in well! Step 3- From here lay out a tray with some foil, give it a little spray with fry light so they don't stick! Using a teaspoon, spoon p some of the mixture and using your hands roll the mixture into little balls! Line on the tray and keep going until you've used up all the mixture! Step 4- Preheat your oven to 200 degrees celsius, and place the meatballs in there for 20 minutes. Step 5- Start to make your sauce. You will need to grab the Worcester sauce, mr naga, dolmio and tomato puree; leave these close by. Add in a generous handful of frozen veg and spray the dish with fry light, the veg will need about 5-7 mins. When it's been 20 minutes take the meatballs out of the oven, then add them to your cooking dish. Step 6- While that's going and has 10 mins left get your spaghetti ready. Boil the kettle, add the water to the pan and pop the spaghetti on. For al dente you will only want to cook the spaghetti for 10 mins. Then add your Dolmio to the cooking dish and make sure the heat is on a low simmer. Then add the Worcester sauce just a dash of it, then add couple of teaspoons of the tomato puree and a spoonful of mr naga. Step 7- Once that's been simmering for 10 mins add your spaghetti the cooking dish once drained. From here stir and give it a good mix. Leave to simmer for another 5 mins and then it's ready to plate up! Step 8- When plating use a base of spinach or kale on your plate. Then top with the mixture, bit of spaghetti & sauce with 3-4 meatballs. For a finishing touch you can add a small sprinkling of mozzarella cheese on top! If you give it a go please drop me a comment below and I would love to have your feedback on this recipe! Enjoy! 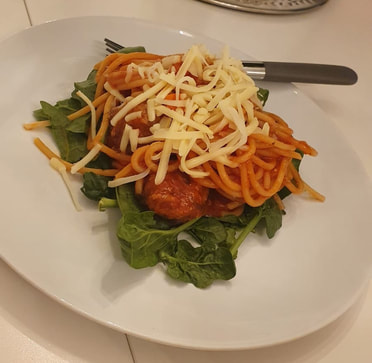 It's crazy when I think back to where I started as a coach 5 years ago, and I am so grateful that I have always had the opportunity to grow & develop not only my skills & knowledge but also as a person.
When I first started as a coach I knew the difference and impact I wanted to make and that it had to be life changing for people! I have invested thousands in my education & growth to learn from others that are the best in the business! This is what has enabled me to grow in confidence, knowledge and skill in order to get the best results for my clients. I didn't want them to just simply achieve weight loss with me, but to completely transform their lives through healthier living. At ZLR Fitness we want to be known for not only our life-changing transformations but how we transform client's lives through what they achieve, and have overcome through working with us. We have made it our passion and mission to help everyone build a healthy, strong mind & body! We want all client's to know where they are heading exactly from where they start to where they want to be. The outcome helps client's to stay really focused and determined, because if you know where you are heading you will stick at it. That being said, client's that come on board must know their reason why and it can't just be 'to lose weight'. Your reasons why you want to change have to be deep; thinking more about how do you want to feel, what impact could this make to your life, what do you need to overcome, where do your battles lie, why now etc. It has to be more thought provoking and deeper stuff because when you dive into that you can make your reason for why you are starting a journey very strong. At ZLR Fitness we want every client to achieve what they never thought was possible! Some clients have initial goals of maybe even 2 stone but don't believe they can get there, so when I had a client drop 5.5 stone in one year she couldn't quite believe it! This goes without saying, but numbers shouldn't be your sole focus but it is a great target for health markers. Improving your health is just as important as feeling happy & confident within your body! When you feel good in your mind & body that is then reflected into your daily life, relationships, friendships, conversations you have with yourself etc. If you want to become the best version of yourself but doubt you can achieve it then you need a coach in your corner to help you. There is no problem or struggle that you can have that is too big to fix, I guarantee I can help you overcome anything. I have helped and transformed so many people's lives and I cannot wait to share my newest client transformations with you! These client's are just amazing! I am in awe at the kind of things they are achieving not just with their weight loss, but their new found strength, resilience & confidence! Improving their mental and physical well being while tackling their struggles and overcoming their barriers to change. So to all my clients out there I am so proud of you all! To anyone who is reading this thinking about starting a journey or working with me the only thing you will regret is not starting sooner! Be sure to click on the buttons below to see my client transformations & testimonials to see what my client's have achieved with my help, accountability & support! Happy Sunday! Love Zo |
AuthorZLR Fitness Archives
March 2023
Categories |


 RSS Feed
|